
Blog
Installing Flooring Edge Trims for Seamless Floor Transitions

Feb
Choosing the perfect edge trim is often the difference between a floor that feels truly finished and one that betrays every uneven seam. For British homeowners tackling DIY flooring upgrades, attention to the subfloor’s preparation and trim selection is crucial. This guide walks you through expert methods for preparing your foundation, measuring transitions, and installing hand-finished trims that deliver seamless, stylish results in any UK home.
Table of Contents
- Step 1: Prepare the Subfloor And Select The Right Trim
- Step 2: Measure And Mark Trim Placement Accurately
- Step 3: Cut And Fit Your Edge Trims Precisely
- Step 4: Fix Edge Trims Securely And Evenly
- Step 5: Inspect And Finish For A Professional Look
Quick Summary
| Key Point | Explanation |
|---|---|
| 1. Ensure a Level and Dry Subfloor | A solid, even subfloor prevents trim movement and maintains a seamless look, crucial for successful installations. |
| 2. Measure and Mark with Precision | Accurate measurements minimise gaps and misalignment, assuring a professional finish during installation. |
| 3. Cut and Fit Trims Accurately | Properly cut trims enhance visual appeal and fit, essential for achieving flawless transitions between flooring types. |
| 4. Secure Trims Effectively | Using quality adhesives and fasteners ensures durability and prevents future issues like movement or wear. |
| 5. Conduct a Thorough Final Inspection | Inspecting for gaps and imperfections guarantees a polished outcome and identifies areas needing correction before completion. |
Step 1: Prepare the Subfloor and Select the Right Trim
Before you install any edge trim, your subfloor must be in excellent condition. A solid, level subfloor ensures your trims sit flush and your floor transitions look seamless rather than uneven or unstable.
Start by assessing your existing subfloor. Proper subfloor assessment should include checking for moisture, structural soundness, and any signs of damage like soft spots or excessive give. If you notice any areas that flex or feel spongy underfoot, these need attention before you proceed.
Next, level any uneven patches. Use a floor leveller compound on low spots, or sand down high points carefully. Your goal is a flat surface within 3 millimetres over a 3-metre span. This might sound fussy, but uneven subfloors cause trims to rock or gap, ruining the finished look.
Moisture is your enemy here. Test your subfloor moisture levels using a moisture meter. Damp subfloors cause wooden and cheaper composite trims to warp, swell, and eventually fail. Our solid brass trims won’t split, bend or dent like weaker alternatives, but even premium trims need a dry foundation to perform properly.
Once your subfloor is level and dry, measure your floor transitions carefully. Note the height differences between rooms and the thickness of your existing flooring. These measurements determine which trim profile you need.
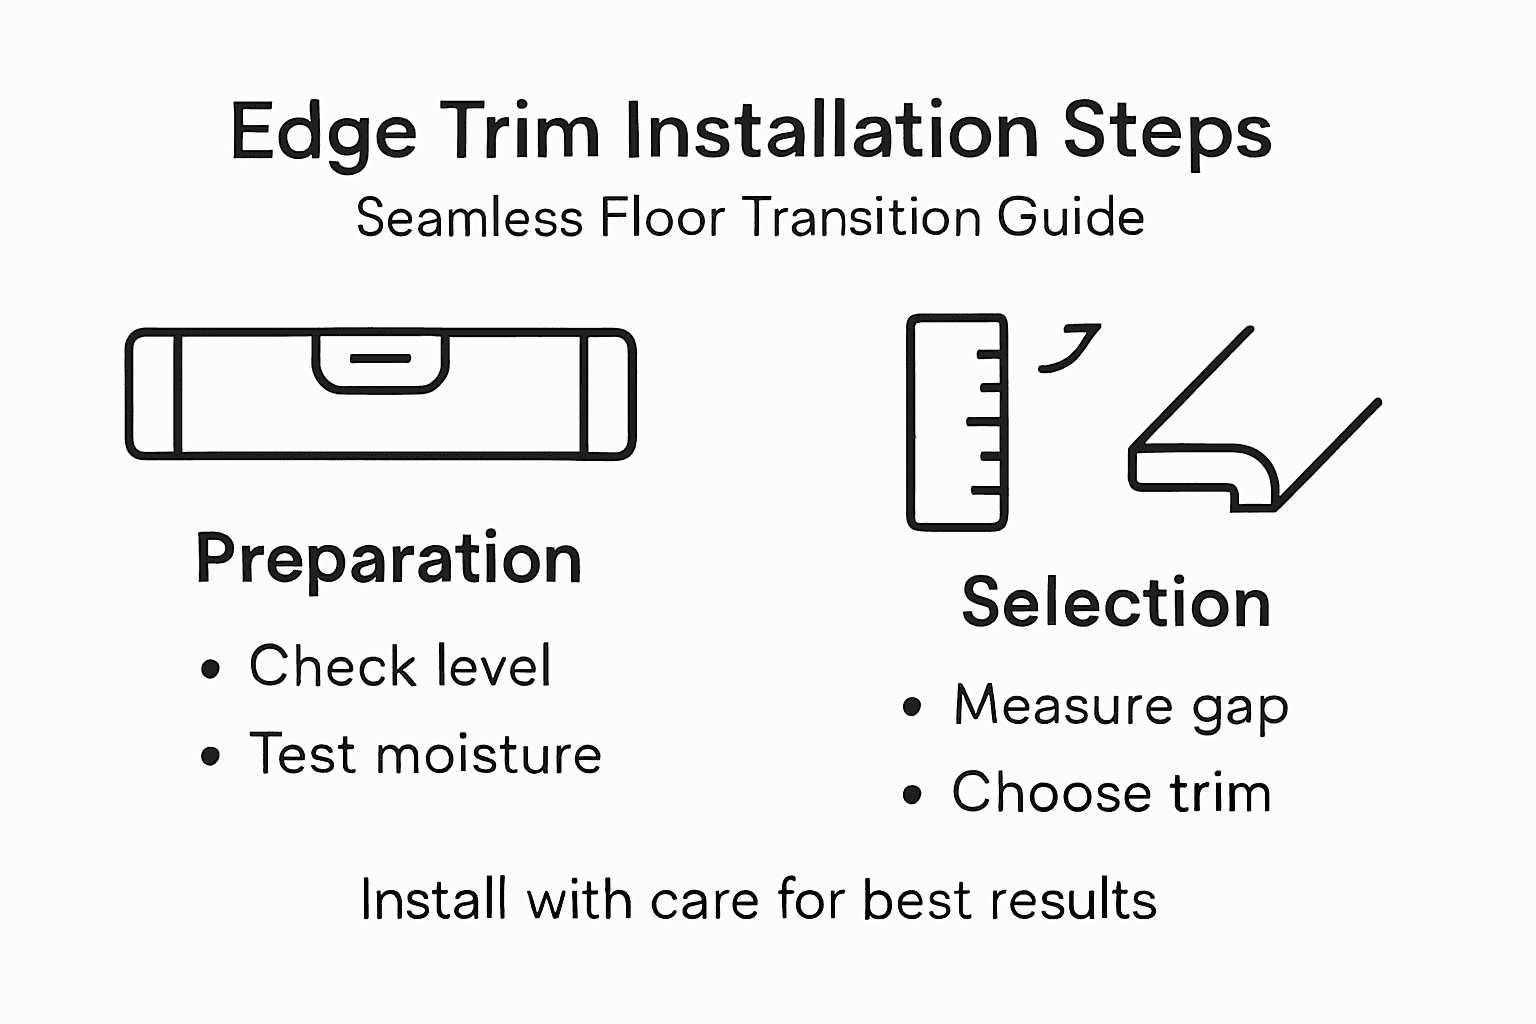
When selecting your trim, consider both the flooring types you’re joining and the aesthetic you want. Our hand-finished solid brass trims come in 10 luxury finishes and suit virtually any interior style. Unlike aluminium, wooden, or plastic trims that require constant replacement, solid brass maintains its integrity for decades.
Here’s a quick comparison of common trim materials to help you choose the best option:
| Material Type | Durability | Maintenance Needs | Long-Term Appearance |
|---|---|---|---|
| Solid Brass | Exceptional | Minimal | Maintains lustre decades |
| Aluminium | Moderate | Regular cleaning | May dull or dent |
| Wood | Low to moderate | Occasional repair | Can warp or fade |
| Plastic | Low | Prone to breakage | Often discolours |
Create a checklist before purchasing:
- Floor thickness on each side of the transition
- Height differences between adjoining spaces
- Flooring materials you’re connecting
- Your home’s design style and colour scheme
- The length of transitions you need to cover
Accurate measurements at this stage save frustration later. A trim that doesn’t match your floor heights or interior aesthetic undermines your entire project.
Pro tip: Request a free sample of your chosen trim finish before committing to your full order. Seeing how the solid brass catches light in your actual rooms ensures you’ve picked the perfect match for your home.
Step 2: Measure and Mark Trim Placement Accurately
Accurate measurements and marking are what separate a professional installation from a botched one. Taking time here prevents costly mistakes and ensures your trims fit perfectly along every edge and corner.
Start by measuring the length of each transition where you’ll install trim. Use a steel tape measure rather than a fabric one, as steel won’t stretch or sag. Measure twice and note each measurement clearly. Include transitions at doorways, between rooms, and along any edges where flooring meets walls or different floor types.
Next, measure and mark inside and outside corners with precision. These areas determine whether your trims sit flush or leave visible gaps. Use a combination square or angle finder to identify the exact angle of each corner. Many corners aren’t perfectly 90 degrees, particularly in older UK homes with settled foundations.
Mark your placement lines using a pencil or chalk line. Draw a light line along the floor edge where your trim will sit. This guides installation and keeps everything aligned. For long transitions, snap a chalk line for accuracy. For shorter sections, a pencil line works fine.
Pay special attention to transition points between different flooring heights. Mark exactly where each trim starts and ends. This is especially important when connecting carpet to laminate, vinyl to hardwood, or any other combinations.
Create a detailed map or sketch of your space before you start:
- Length of each trim section in millimetres
- Corner angles and their locations
- Height variations between adjoining floors
- Any obstacles like door frames or built-in furniture
- Width of each doorway or opening
Precise marking prevents gaps, misalignments, and the need for filler materials that cheapen your finished look.
Your solid brass trims are manufactured to exacting tolerances, so accurate placement marks ensure they perform as designed. Unlike cheaper alternatives that tolerate sloppy installation, premium trims demand precision to showcase their hand-finished quality.
Pro tip: Use a laser level to mark placement lines on longer transitions. It’s faster than chalk lines, more accurate, and particularly helpful in rooms with uneven floors where trim alignment matters most.
Step 3: Cut and Fit Your Edge Trims Precisely
Cutting and fitting your trims correctly determines whether your transitions look professional or amateur. This step requires attention to detail, but the results are worth every minute you invest.
Begin by measuring each section of trim you need to cut. Transfer your marked placement lines into specific measurements for each trim piece. Account for how trims overlap at corners and joints. Write down every measurement separately to avoid confusion during cutting.
Use a mitre saw or fine-toothed handsaw for cutting your solid brass trims. Professional-grade cutting techniques ensure tight joints and proper alignment that define a flawless finish. Make cuts slowly and deliberately. Rushing leads to rough edges and poor fits that no amount of filler can hide.
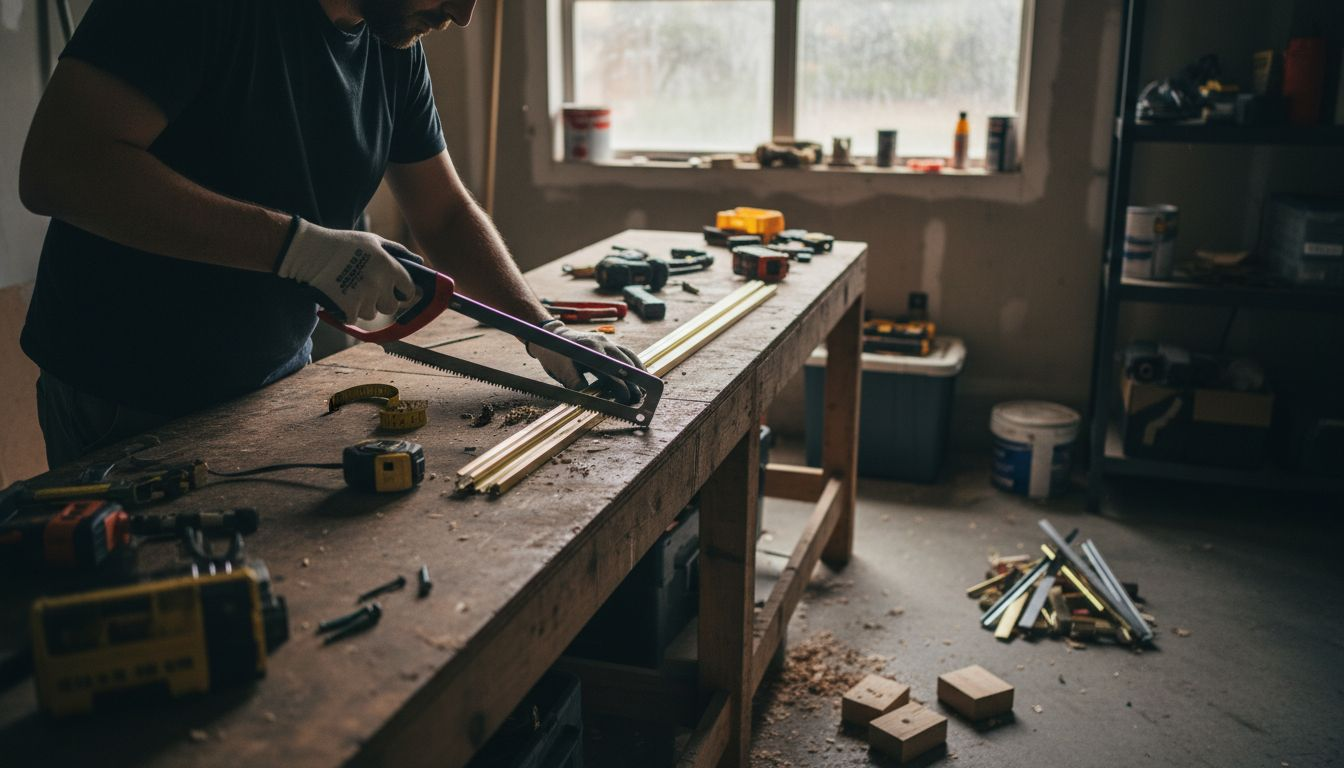
For corners, create precise mitre cuts at 45 degrees on both pieces meeting at that corner. Measure the angle of your corner beforehand if it’s not a standard 90 degrees. Test fit each piece before final installation. Your trims should sit snugly without forcing or leaving gaps.
When fitting trims to different floor thicknesses, you may need to adjust trims for various floor heights and contours. Some sections might require slight shimming or careful adjustment. Take time to achieve even alignment across the entire transition.
Follow this cutting and fitting sequence:
- Measure and mark each trim section precisely
- Make your first cut on a scrap piece to test the angle
- Cut your actual trims with steady, controlled pressure
- Test fit each piece in its location
- Adjust any tight spots with fine sanding
- Verify all pieces fit correctly before securing
Precision cutting now prevents installation problems later. Tight-fitting trims showcase the quality of your solid brass investment.
Solid brass trims are forgiving enough to allow minor adjustments, but they demand respect during cutting. Unlike weaker materials that splinter or dent, brass requires a sharp blade and patience.
Pro tip: Create a cutting template from cardboard for unusual angles or shapes. Test your template against the actual space before cutting expensive brass trims, saving you from costly mistakes.
Step 4: Fix Edge Trims Securely and Evenly
Securing your trims properly prevents movement, gaps, and the premature wear that undermines even the finest finishes. This step determines whether your installation lasts decades or develops problems within months.
Choose your fastening method based on your subfloor type and trim profile. Solid brass trims work best with quality adhesives, screws, or a combination of both. Never use cheap fasteners that corrode or bend under pressure. Your premium trims deserve premium fixings.
If using adhesive, select a flooring-grade product designed for your specific subfloor material. Apply it evenly along the back of the trim using a notched trowel or applicator gun. Too little adhesive leaves weak spots; too much creates squeeze-out and mess.
Secure fastening methods ensure consistent attachment that prevents movement and maintains durability whilst keeping floor transitions level and smooth. Space your fasteners evenly along the trim length. For typical trims, place fasteners every 150 to 200 millimetres.
When using screws or nails, pre-drill holes to prevent the brass from splitting. Drive fasteners straight and flush, not at angles. Countersink screw heads slightly so they sit just below the trim surface for a clean appearance.
Press the trim firmly into place as you secure it. Check alignment frequently using a level. Uneven trims create visible lines and feel unstable underfoot. Work methodically from one end to the other, checking your work every few fasteners.
Your fastening sequence should follow these steps:
- Apply adhesive or prepare fasteners
- Position the trim carefully along your marked line
- Press and hold the trim firmly in place
- Install fasteners from one end to the other
- Check level and alignment as you progress
- Inspect the entire trim for gaps or movement
Even fastening prevents buckling, gaps, and the loose trims that ruin seamless transitions. Every fastener counts towards a professional result.
Solid brass trims require respect during installation. Overtightening fasteners can dent or mark the surface. Work steadily and deliberately rather than rushing through the job.
Pro tip: Apply painter’s tape along the edges of your trim before securing it. This protects your flooring from adhesive squeeze-out and makes cleanup far simpler once the adhesive dries.
Step 5: Inspect and Finish for a Professional Look
Your installation is nearly complete. Now it’s time to inspect every detail and make final adjustments that transform a good job into a professional one. This step separates truly finished work from rushed projects.
Walk the entire length of your trim installation and examine it closely. Look for gaps between the trim and flooring, misaligned sections, or visible fasteners that should be flush. Check that all trims sit at consistent heights without rocking or movement. Run your hand along the trim surface feeling for any rough edges or protruding fasteners.
Thorough inspection of installed trims should include checking for gaps, alignment issues, and fastener visibility. Sand any rough edges lightly with fine-grit sandpaper. This removes micro scratches and manufacturing marks whilst keeping the hand-finished surface pristine.
If you’ve used adhesive, allow full curing time before applying finishing touches. Most quality flooring adhesives require 24 to 48 hours to reach full strength. Don’t rush this stage or you’ll undo all your careful work.
Address any small imperfections before considering the job complete. Fill tiny gaps with colour-matched sealant if necessary, though well-fitted brass trims rarely need this. Wipe down all surfaces with a soft, dry cloth to remove dust and fingerprints. Your solid brass trims should shine with their natural lustre or chosen luxury finish.
Your final inspection checklist includes:
- No visible gaps between trim and flooring
- All fasteners flush or countersunk
- Trims level and aligned throughout
- No loose or rocking sections
- Clean, dust-free surfaces
- Smooth, snag-free edges
A professional finish comes from attention to detail at the very end. Every small touch elevates your entire installation.
Solid brass hand-finished trims deserve a flawless installation. The time you invest now ensures your transitions look stunning for decades. Step back and admire your work. You’ve created seamless floor transitions that enhance your home’s interior.
For fast reference, here’s a summary of professional trim installation steps:
| Step | Key Task | Importance |
|---|---|---|
| Subfloor prep | Level, dry surface | Ensures stable installation |
| Precise measuring | Mark positions accurately | Prevents gaps and misalignment |
| Careful cutting | Mitre and fit perfectly | Achieves seamless transitions |
| Secure fixing | Use quality fasteners & adhesive | Prevents movement and wear |
| Final inspection | Address imperfections | Ensures flawless finish |
Pro tip: Apply a quality brass protectant or natural wax to your installed trims once fully cured. This enhances the hand-finished appearance and provides long-term protection against tarnishing, keeping your investment looking pristine for years.
Elevate Your Flooring Transitions with Expertly Crafted Edge Trims
Achieving seamless and durable floor transitions requires precise measuring, cutting and fixing as well as selecting trims that complement your subfloor and flooring materials. If you identify challenges like uneven subfloors or fear lasting gaps and misalignment after installation this guide highlights the importance of quality products and meticulous installation for professional results. Our solid brass trims stand apart by offering unmatched durability and a choice of 10 hand-finished luxury finishes that maintain their lustre for decades unlike aluminium, wood or plastic alternatives.

Discover How Our Range of Solid Brass Flooring Edge Trims at Quality Carpet Trims Can Transform Your Flooring Projects. Benefit From Free Samples, Expert Advice and British-Made Excellence Made to Fit Your Exact Measurements and Interior Style. Visit our website now to get the perfect trims that ensure smooth, secure and visually stunning floor transitions every time.
Frequently Asked Questions
How do I assess my subfloor before installing edge trims?
Begin by checking for moisture, structural soundness, and any signs of damage like soft spots. Use a moisture meter to ensure the subfloor is dry, as dampness can cause trims to warp. Ensure your subfloor is level within 3 millimetres over a 3-metre span to achieve seamless transitions.
What is the best way to measure for flooring edge trims?
Use a steel tape measure to accurately determine the length of each transition. Ensure to measure twice and note height differences between adjoining spaces for a precise fit. Mark your lines clearly to guide trim placement during installation.
How should I cut and fit flooring edge trims?
Utilise a mitre saw or fine-toothed handsaw for clean, precise cuts. Measure each section carefully, creating 45-degree mitre cuts for corners to achieve a seamless look. Test fit each piece before final installation to ensure snugness without gaps.
What fastening methods are best for securing edge trims?
Choosing quality fasteners is crucial; opt for screws or strong adhesives designed for your subfloor type. Pre-drill holes to prevent the brass from splitting, and ensure fasteners are installed evenly along the trim length, spaced every 150 to 200 millimetres for optimal support.
How can I ensure a professional finish when installing edge trims?
Conduct a thorough inspection once installation is complete, checking for gaps, alignment, and flush fasteners. Address any imperfections by filling small gaps and sanding rough edges. Wipe down all surfaces to remove dust and fingerprints, enhancing the overall appearance of your trim installation.
What are the maintenance tips for solid brass edge trims?
To maintain the lustre of solid brass trims, periodically apply a quality brass protectant or natural wax. This helps prevent tarnishing and keeps your trims looking pristine for years, contributing to the longevity of your flooring transitions.
Recommended
- Flooring Edge Trims: The Key to a Seamless Finish
- Vinyl Floor Edge Trim – Premier Trims | Quality Carpet Trims UK
- Complete Guide to Selecting Carpet Trims for Perfect Finishes
- Transition Strips For Uneven Floors In All Shapes And Sizes.
- 3D Floor Plan Examples
- Poser carrelage pierre naturelle pour une finition haut de gamme