
Blog
How to select flooring thresholds: a complete UK guide

May
TL;DR:
- Getting a flooring threshold wrong can lead to safety issues, aesthetic mismatches, and liability risks in commercial settings. Proper assessment of height differentials, movement, traffic, and regulations is essential for selecting the right profile type and ensuring compliance, especially with accessibility standards. Using the correct tools and following a systematic process results in seamless, durable, and safe transitions that enhance long-term flooring performance and appearance.
Getting a flooring threshold wrong is one of those mistakes that announces itself every single day. A poorly chosen strip creates a raised lip that catches shoes, a colour mismatch that draws the eye for all the wrong reasons, or a non-compliant upstand that leaves you exposed to liability in a commercial setting. Whether you are finishing a home renovation or specifying products for a high-traffic retail space, the threshold you choose affects safety, aesthetics, and long-term durability in equal measure. This guide walks you through every stage of the selection process, from initial assessment right through to final installation, giving you the confidence to make the right call every time.
Table of Contents
- Factors to consider before selecting a flooring threshold
- Tools and requirements for measuring the threshold gap
- Step-by-step process for selecting and fitting the right threshold
- Common mistakes and how to ensure safety and compliance
- The real-world difference: why compliance and context matter more than product names
- Find the perfect threshold strip for your floors
- Frequently asked questions
Key Takeaways
| Point | Details |
|---|---|
| Check height difference | Start your selection by accurately measuring the difference in height and thickness of your adjoining floors. |
| Prioritise safety and compliance | Choose threshold profiles that meet UK accessibility regulations and minimise trip risk, especially in high-traffic or public areas. |
| Use the right tools | Having the correct measuring tools and verifying key details at several points ensures you choose a suitable threshold strip. |
| Match function to design | Select threshold types that balance durability, aesthetic, and the demands of their specific location within the property. |
Factors to consider before selecting a flooring threshold
Understanding the role of flooring thresholds goes well beyond picking something that looks the part. A threshold is a working component of your floor. It protects exposed edges, accommodates movement between materials, and manages the height change between two adjoining surfaces. Before you look at any product, you need a clear picture of what the threshold is actually being asked to do.
Start with the floor coverings on either side of the gap. Their thickness and construction matter enormously. A transition between a thick carpet and a thin luxury vinyl tile creates a very different height differential to one between two hard floors of similar depth. Carpets, ceramic tiles, engineered wood, laminate, and stone all sit at different heights once fully installed, and that step determines which profile type is appropriate.
Beyond height, think about the demands placed on the threshold in daily use. A domestic hallway carries very different loading to a commercial entrance with trolleys, wheelchairs, and heavy footfall. The finish and core construction of your strip must match the environment. This is where solid metal thresholds consistently outperform other materials. A solid metal door bar, hand-finished to a precise specification, will hold its shape, resist denting, and maintain its surface appearance far longer than inferior alternatives.
Regulatory context is something that many DIY projects overlook until it is too late. The threshold strips guide for UK homes covers this in detail, but the headline rule is clear:
According to the Building Regulations Part M Access Guide, threshold strips and floor transitions must consider accessibility and trip risk, with a maximum upstand height of 15 mm (with chamfering or rounding) and level or gently ramped approaches required for accessible routes.
This applies to new builds, extensions, and many commercial fit-outs. Even where Part M is not formally required, following its principles simply results in safer, more professional outcomes.
Key factors to assess before selecting any threshold:
- Height differential between both finished floor surfaces
- Gap width at the junction point and any variation along its length
- Expected movement in the substrate or floor covering over time
- Footfall intensity and the type of traffic (people, wheeled equipment, furniture)
- Regulatory requirements based on property type and use
- Visual finish to complement or contrast the surrounding décor
Pro Tip: Always measure the height differential at multiple points across the doorway. Floors are rarely perfectly level, and a reading taken at one end of a threshold gap can differ by several millimetres from a reading at the other end.
Tools and requirements for measuring the threshold gap
With those considerations in mind, preparation is key. Arriving at the measurement stage without the right tools is the single biggest cause of poorly fitted thresholds. A good measurement takes ten minutes and saves you hours of adjustment or re-ordering later.

According to a practical UK methodology, the correct approach is to begin with height and thickness differences between the two floor types, then assess whether the run length allows for a gentle ramped profile, and finally consider weight demands and any curvature in the doorway or gap.
Essential tools for the job:
- Steel tape measure for gap width, run length, and floor thickness
- Spirit level to check for any cross-fall or unevenness in the substrate
- Profile gauge (sometimes called a contour gauge) for curved or irregular doorways
- Pencil and notepad to record all measurements accurately before ordering
The table below summarises what each tool helps you capture and why that information drives the product selection:
| Tool | Information gathered | Why it matters |
|---|---|---|
| Steel tape measure | Height of each floor covering, gap width, run length | Determines profile type and threshold length |
| Spirit level | Floor evenness, any cross-fall across the gap | Identifies need for shimming or adjusted fixing |
| Profile gauge | Curvature or irregular shape of doorway | Required for non-standard or curved thresholds |
| Pencil and notepad | All recorded dimensions and notes | Prevents errors when ordering or cutting to length |
Once you have all this information recorded, you are in a strong position to filter product options by technical fit rather than appearance alone. For uneven substrates in particular, exploring transition strips for uneven floors can save significant rework time.
Pro Tip: Take your measurements at a minimum of three points along the doorway gap, not just the centre. Walls settle, floors shift, and what appears to be a uniform gap is often slightly wider or narrower at the edges.
Step-by-step process for selecting and fitting the right threshold
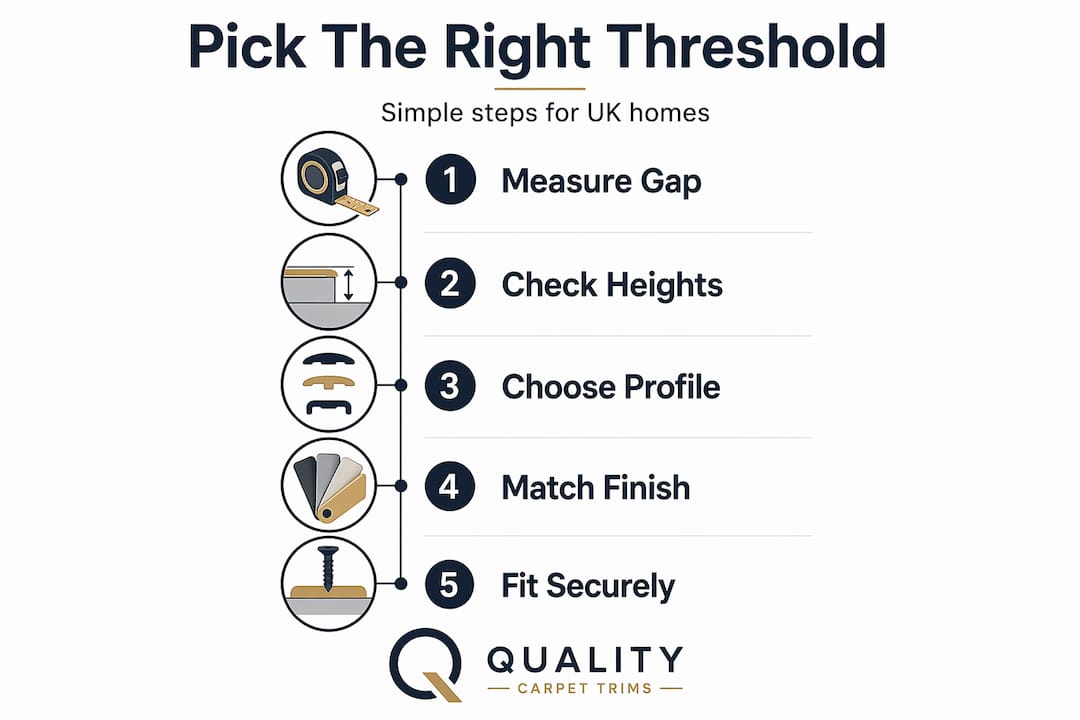
Once you are properly equipped, it is time to move systematically through the fitting process. Jumping straight to product browsing without following a structured method is where most installation problems begin. Here is a proven, ordered approach:
-
Measure and record all relevant dimensions. Note the height of each finished floor surface, the gap width, the full run length of the threshold, and any variation along the length. Record these on a simple sketch.
-
Assess the step difference and upstand needs. A small height difference (under 3 mm) may be handled with a flat bar. A larger difference requires either a reducer profile that slopes between two heights, or a ramped profile with a more gradual angle. For higher step differences, a ramped profile is typically preferred over a sharp lip to reduce trip risk, and you should consider whether the available run length can achieve a gentle enough slope.
-
Choose the appropriate profile type. Flat bars suit same-height hard floor junctions. Ramp or reducer profiles handle height changes. Flexible or curved bars address non-standard doorways. Each serves a different situation, and choosing the wrong one creates the very problems you are trying to avoid.
-
Verify compliance with Part M if applicable. For commercial projects, extensions to existing dwellings, and any accessible route, check that your chosen product meets the 15 mm maximum upstand rule and that the profile edge is chamfered or rounded. This is not optional in regulated contexts.
-
Trial fit before permanent fixing. Place the threshold in position without adhesive or screws first. Check that it sits flat, covers the gap fully, and does not rock or lift at any point. This stage catches problems with substrate preparation before they become permanent.
-
Complete the installation. Follow the manufacturer’s fixing guidance. For solid metal thresholds, this typically involves either an adhesive channel or direct screw fixing depending on the substrate. Ensure the fixing is secure across the full length, not just at the ends.
The comparison table below helps you match profile types to common scenarios:
| Profile type | Best use scenario | Compliance consideration |
|---|---|---|
| Flat bar | Two hard floors at the same height | Low upstand, generally compliant |
| Reducer/ramp | Height difference between two floor types | Check upstand does not exceed 15 mm |
| Flexible/curved bar | Non-linear doorways or curved walls | Same upstand rules apply |
| Carpet to hard floor bar | Carpet abutting tile, laminate, or vinyl | Gripper rod or clip channel needed |
For a thorough breakdown of what each profile type involves, the complete threshold strip guide covers terminology, dimensions, and fixing methods in detail. When the goal is a truly polished result, the seamless finishes guide is also worth reading before you commit to a product.
Common mistakes and how to ensure safety and compliance
Following a step-by-step approach helps prevent many errors, but it is just as vital to know what not to do. Some of the most common threshold problems are entirely avoidable with a little foreknowledge.
The most frequent mistakes include:
- Ignoring level differences across the full length of the gap, leading to a strip that sits flat at one end and rocks at the other
- Using an incorrect profile type for the height differential, creating either a sharp trip hazard or an over-engineered installation in a simple same-height junction
- Forgetting edge chamfering on thresholds installed in accessible routes, which is a direct compliance failure under Part M
- Skipping regulatory checks entirely on commercial projects, assuming that any threshold will do
- Cutting the threshold too short, which leaves exposed flooring edges and creates a gap that collects dirt and moisture
- Over-tightening fixings on solid metal thresholds, which can cause bowing or surface distortion on longer runs
Checking for accessibility and compliance at every stage is not just about ticking boxes. It is about creating an environment where people move safely and confidently. This is especially important in commercial settings where you have a duty of care to visitors, customers, and staff.
Both product choice and compliance must be addressed together. As the Building Regulations Part M Access Guide makes clear, product-led selection guides often focus on profile names and millimetre ranges, while regulation-led guidance prioritises accessibility outcomes. Specifiers must reconcile both: technical profile selection alongside compliance constraints, not one or the other.
Understanding why floor transitions matter from both a safety and longevity perspective reinforces why cutting corners at this stage is never worth it.
Pro Tip: When in doubt, prioritise performance and safety over purely aesthetic matching. A threshold that looks beautiful but creates a trip hazard or fails a compliance check is not a success. Function first, then finish.
The real-world difference: why compliance and context matter more than product names
There is a tendency in flooring projects to treat threshold selection as a catalogue exercise. You identify the gap, browse a range, pick something that looks right in the image, and order it. That approach works until it does not, and when it fails, it tends to fail publicly, in the form of a raised lip that catches a client’s foot or a compliance notice from a building inspector.
Seasoned specifiers and experienced interior designers know that the real skill is not knowing which product names exist, it is knowing how to read a specific site and reconcile all the variables before committing to a product. Two doorways that appear identical on a plan can require completely different solutions once you are standing in front of them with a tape measure and a spirit level.
The most costly threshold mistakes we hear about are not cases of people selecting the wrong product from a good shortlist. They are cases of people skipping the assessment stage entirely and working backwards from a product they already liked the look of. The aesthetic comes last. It follows from a correct technical specification, not the other way around.
There is also the question of material quality. A hand-finished solid metal threshold in a complementary tone will still look sharp five years after installation. An inferior material warps, oxidises, or loses its surface coating within months, particularly in high-moisture areas or under heavy traffic. Understanding why floor transitions matter for long-term durability is just as important as understanding the initial selection process.
The best threshold installations are invisible in the best possible sense. You do not notice them because they sit perfectly flush, carry the eye naturally between surfaces, and never once cause a stumble or snag. That level of finish is the product of methodical assessment, not good luck.
Find the perfect threshold strip for your floors
If you are now ready to put best practice into action, sourcing the right products is your next step.
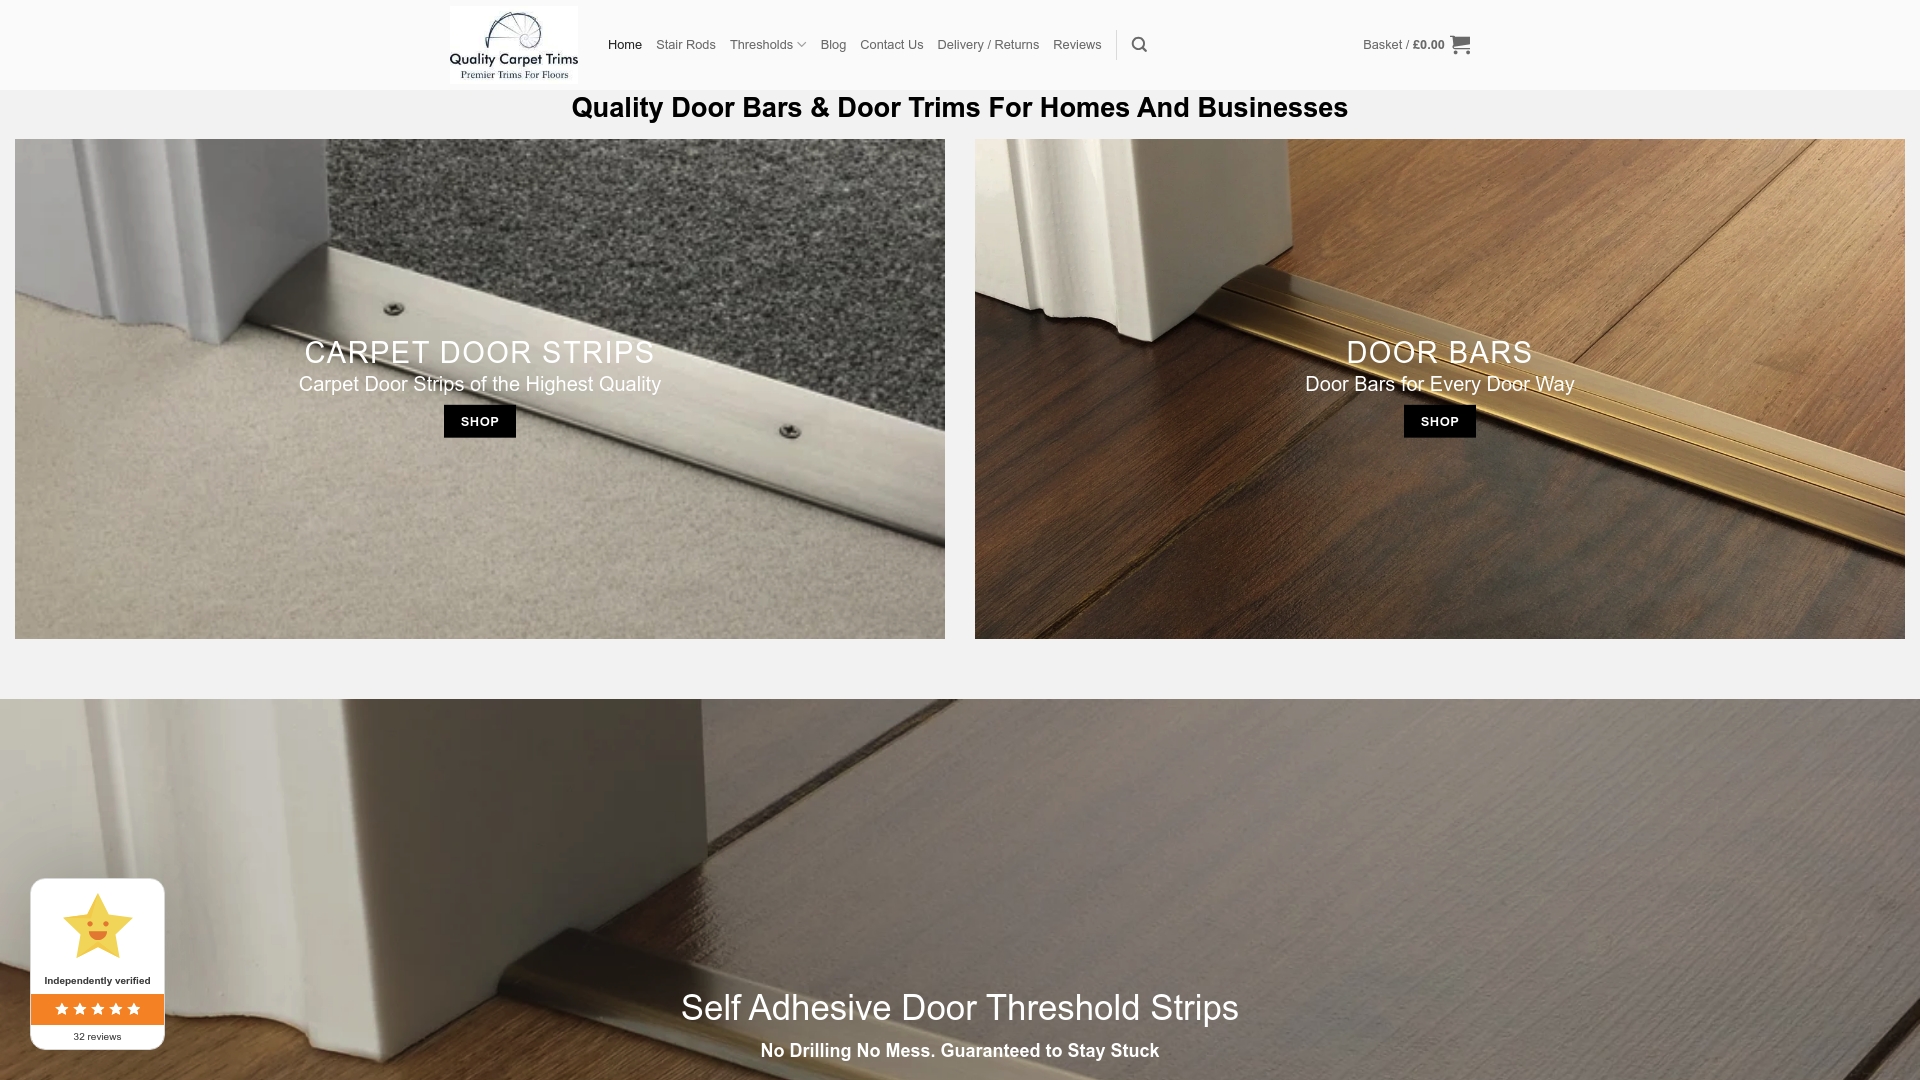
At Quality Carpet Trims, every threshold strip is crafted from solid metal and hand-finished in ten carefully selected finishes, so you get a product that holds up beautifully under daily use and complements your interior without compromise. Whether you need a flat bar for a same-height hard floor junction or a reducer for a carpet-to-tile transition, there is a solution designed specifically for your scenario. Browse the full threshold strips range to find your match, explore flooring trim types explained for help choosing the right profile, or read the detailed flooring trim terminology guide to feel completely confident before you order.
Frequently asked questions
What is the maximum allowed threshold upstand for accessibility in the UK?
The maximum upstand allowed is 15 mm with chamfering or rounding, and a gently ramped approach is recommended for accessible routes under Building Regulations Part M.
How do I measure for the right threshold strip?
Measure the thickness and finished height of both adjoining floor types, the gap width, and the full run length. According to UK transition selection methodology, you should also assess whether sufficient run length exists to accommodate a gentle ramped profile where needed.
When should I use a ramped threshold instead of a flat bar?
Use a ramped profile when there is a meaningful step difference between the two floors. A ramped profile reduces trip risk far more effectively than a sharp lip when height differentials exceed a few millimetres.
Are there different regulations for homes versus commercial projects?
Both residential and commercial projects must meet accessibility standards, but the Part M accessibility requirements apply more broadly to commercial entrances and publicly accessible spaces, where compliance checks are typically more rigorous.
Recommended
- What is a flooring transition: guide for UK homeowners 2026
- Understand the role of flooring thresholds for a perfect finish
- What is a floor threshold? A practical UK guide
- Master the role of threshold strips for flooring transitions