
Blog
Explaining hardfloor transitions: a homeowner’s guide

May
TL;DR:
- Most homeowners believe the best floor transition is invisible, but visible transitions improve safety and durability. Choosing the appropriate profile depends on floor height differences and material quality, with solid brass trims offering superior longevity over cheaper alternatives. Proper installation to the subfloor and thoughtful design ensure a safe, functional, and visually appealing flooring junction.
Most homeowners assume the best floor transition is one you cannot see. That thinking leads to gaps, buckling, and trip hazards. Explaining hardfloor transitions properly means going beyond aesthetics and understanding why these strips exist, what they do structurally, and how choosing the wrong material can undo an otherwise excellent renovation. This guide covers the key hardfloor transition types, how to select the right profile for your specific flooring combination, what compliance standards apply in 2026, and why material quality matters far more than most people realise.
Table of Contents
- Key takeaways
- Understanding hardfloor transitions: functions and concepts
- Choosing the right hardfloor transition type
- Why material matters: solid brass versus the rest
- Installation: what you must get right
- Transitions and interior design
- My honest view on getting transitions right
- Premium trims from Qualitycarpettrims
- Common questions
Key takeaways
| Point | Details |
|---|---|
| Transitions serve structural roles | They accommodate floor movement and manage height differences, not just cover gaps. |
| Height difference governs trim choice | Use a flush reducer for up to 6mm; a bevelled reducer for 6mm to 12mm differences. |
| Solid brass outlasts cheaper alternatives | Trims that split, bend, or dent create hazards and require costly replacement. |
| Fixing method affects floor integrity | Never nail transition strips into floating floorboards; fix to the subfloor instead. |
| Visible transitions improve safety | Clearly defined floor changes reduce trips, particularly for children and elderly residents. |
Understanding hardfloor transitions: functions and concepts
A hardfloor transition strip is a profiled length of trim that sits at the junction between two floor surfaces. It covers the expansion gap left between flooring sections, manages the height change from one material to another, and provides a finished edge where a floor meets a wall, step, or doorway.
Transition strips accommodate the independent expansion and contraction of different flooring materials. Without them, floating floors in particular have nowhere to move, and they buckle or crack under seasonal temperature changes. This is especially true where tile meets wood, since ceramic and timber respond very differently to heat and humidity.
Safety is the second major function. Visible transitions improve safety by giving a clear visual cue that the floor surface is about to change. This matters most in homes with older adults or young children, where an unannounced level change underfoot can cause a fall. A well-fitted transition does not just look finished. It actively reduces risk.
The basic terminology is worth knowing before you shop:
- T-moulding: A T-shaped profile used where two floors of equal height meet, most commonly in doorways.
- Reducer: A tapered strip that steps down from a higher floor to a lower one.
- End cap (or square edge trim): A profile used to finish the exposed edge of a floor where it meets a wall, step, or raised threshold.
- Threshold: A heavier strip used at exterior doors or room entrances, often needing to be more robust due to traffic and weather exposure.
Pro Tip: Before buying any trim, measure the height difference between your two floors with a straightedge and a steel rule. That single measurement will eliminate half the options immediately and save you from returning the wrong profile.
Choosing the right hardfloor transition type
Selecting the correct profile is not a matter of personal preference alone. The height difference between your two floors is the deciding factor, and in 2026 there are clear standards governing this.
Height differences determine your trim choice with specific thresholds: a flat seam strip or flush reducer for up to 6mm (¼ inch); a bevelled reducer with a maximum 1:2 slope for 6mm to 12mm (¼ to ½ inch); and a ramped threshold for differences exceeding 12mm (½ inch). Ignoring these thresholds does not just look poor. It risks OSHA non-compliance, since abrupt surface irregularities are formally classified as trip hazards under OSHA 29 CFR 1910.22.
The table below sets out the most common transition scenarios and the correct profile for each:
| Flooring combination | Height difference | Correct profile |
|---|---|---|
| Hardwood to hardwood (same room) | None or minimal | T-moulding |
| Tile to wood floor transition | 6mm to 12mm | Bevelled reducer |
| Laminate to vinyl | Up to 6mm | Flush reducer or seam strip |
| Carpet to hardfloor | Variable | Metal cap over tack strip, or decorative reducer |
| Floor to exterior door | Any | Heavy-duty threshold |
For carpet to hard floor, the traditional method uses a tack strip with a metal cap edge, where the carpet is stretched over the tack strip and the metal edge is bent down to hold it firmly. Upscale projects often prefer a decorative reducer in a matching or complementary finish for a cleaner, more polished result.
T-moulding is versatile but not a universal solution. It works well for same-height hard floors, but if your tile and wood are even slightly different in thickness, a T-moulding will rock underfoot and wear unevenly over time. Evaluate the actual conditions of your floors before committing.
Pro Tip: If you are transitioning between two floating floors in adjacent rooms, both floors need their own independent expansion gap. The transition strip should be fixed to the subfloor only, allowing each floor to move freely beneath it.
Why material matters: solid brass versus the rest
Here is where many renovations quietly fall apart. A homeowner spends thousands on quality flooring, then buys the cheapest transition strip available. Within a year, it has bent at the fixing points, developed a crack along its length, or turned a dull, patchy grey.
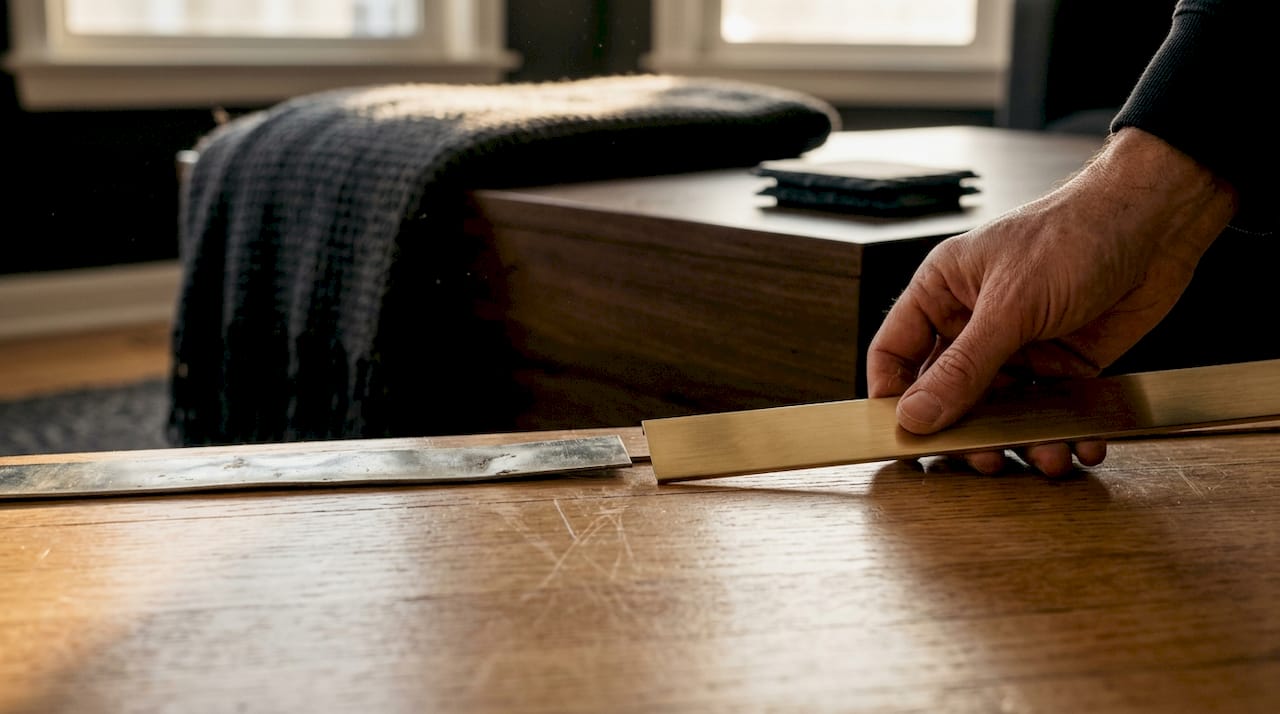
Wooden trims split and swell with moisture. Plastic and rubber trims dent under foot traffic and degrade with cleaning products. These are not theoretical risks. They are the complaints that come in regularly from homeowners who chose on price rather than performance.
Solid brass trims with a powder-coated finish are in a different category entirely. The advantages are worth listing:
- No splitting or cracking: Solid brass does not develop stress fractures under repeated foot traffic.
- No bending at fixing points: The material holds its profile under load, which means the transition stays flush and safe over years of use.
- Powder-coated finish durability: The coating bonds at a molecular level with heat, resisting chipping, fading, and cleaning chemicals far better than paint or lacquer.
- Ten luxury finishes: Rather than compromising on appearance, you can match or intentionally contrast your floor colour with a finish that suits your interior scheme.
- Long-term cost: A trim that lasts the life of your floor costs less than replacing a cheap strip every few years and repairing the surface damage it leaves behind.
The quality of your transition strip reflects the quality of your overall flooring project. A floor that costs £3,000 deserves a trim that will still look and function correctly in ten years.
Installation: what you must get right
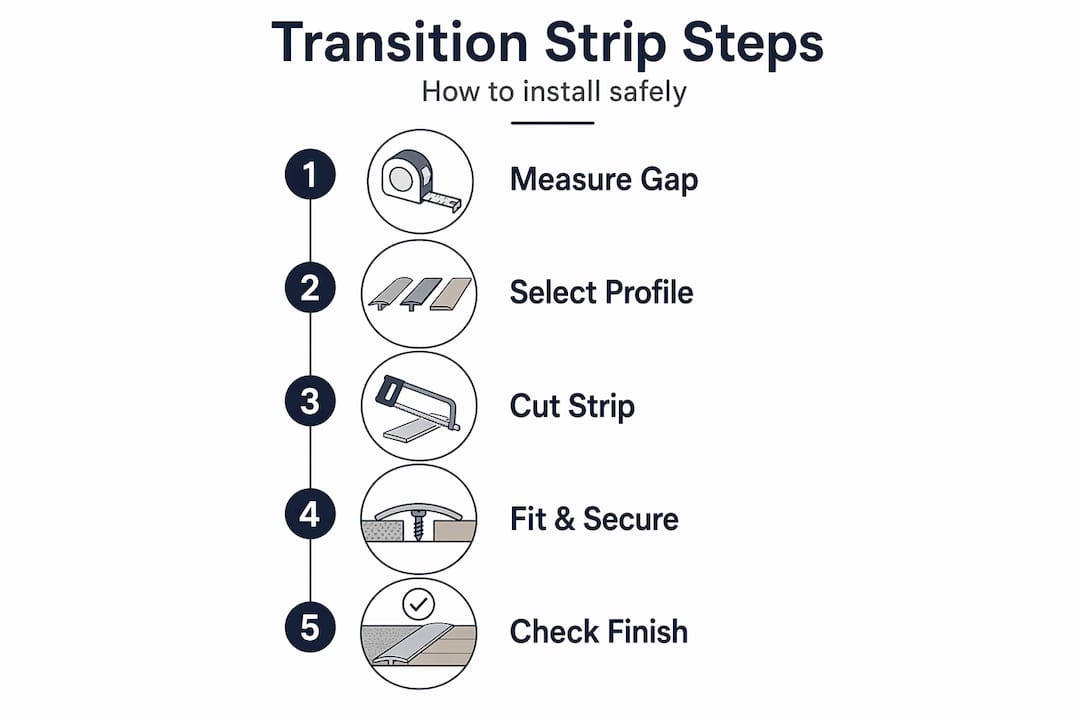
Even the best transition strip will fail if it is installed incorrectly. These are the steps and cautions that make the difference between a professional result and a recurring problem.
- Prepare the subfloor first. The subfloor beneath the transition must be flat, clean, and structurally sound. Flush transitions require precise subfloor preparation and alignment. If the subfloor is uneven at the junction, the finished transition will be too.
- Measure and cut accurately. Cut the trim to fit the width of the doorway or junction exactly. A trim that is too short leaves exposed gaps; one that is too long forces the profile out of alignment.
- Fix to the subfloor, not the flooring. Nailing strips into floating floorboards restricts the floor’s natural expansion and causes buckling over time. Always fix transition strips to the subfloor or door frame, never through the floating floor itself.
- Consider glued dowels for a clean finish. Glued dowels under transition mouldings provide a secure, invisible fix without visible screws. This method requires careful measurement and alignment but gives a cleaner result in high-visibility areas.
- Leave the correct expansion gap. Check the manufacturer’s guidance for the specific flooring you are using, since timber and laminate products vary in their movement requirements.
- Do not use silicone or rigid adhesive to fill expansion gaps. A rigid fill defeats the purpose of the gap entirely and can transfer stress to the flooring edges, causing chipping or cracking at the transition point.
Pro Tip: In doorways, position the transition strip directly beneath the door’s closed position. This hides the trim when the door is shut and creates a clean reveal when it opens, which is the result that always looks most professional.
Common mistakes to avoid include: fitting a T-moulding over an uneven height difference, choosing a profile that is too narrow for the expansion gap it needs to cover, and failing to check whether the chosen trim finish is compatible with underfloor heating systems.
Transitions and interior design
Function comes first, but a well-chosen transition strip genuinely improves the appearance of a room. The choice of finish and profile width affects how your floors read as a whole.
A few practical principles to guide your decisions:
- Match the trim to your dominant floor. In a tile to wood floor transition, match the trim finish to the wood tone rather than the tile grout. This makes the transition feel intentional rather than improvised.
- Use contrast deliberately. A brushed gold trim against dark hardwood or a matt black finish against pale limestone is a design decision, not a compromise. Premium powder-coated finishes make this approach credible.
- Plan transitions under doors first. Doorway transitions are the most visible in daily use. Decide on these first and work your edge solutions outward from there.
- High-traffic areas need wider profiles. A narrow seam strip in a hallway will show wear long before the same product in a bedroom. Wider profiles distribute foot traffic across a larger contact area.
- Transitioning between hard surfaces in open-plan layouts benefits from consistent finishes throughout. Using the same trim finish across all junctions in an open room creates visual continuity that unifies the space.
My honest view on getting transitions right
I have seen hundreds of flooring projects, and the pattern is consistent. Homeowners who plan their transitions early end up with better-looking and longer-lasting floors. Those who treat transitions as an afterthought spend more money correcting problems.
What surprises people most is learning that a visible transition is not a sign of poor workmanship. It is often the safest and most structurally correct choice. The instinct to hide every junction is understandable, but poorly planned flush transitions are only recommended for experienced professionals precisely because getting them wrong is costly and difficult to correct.
My strongest advice is this: do not let the material decision be an afterthought. I have watched homeowners compromise on the trim after spending serious money on their floors, and the cheap strip either bends, cracks, or becomes a miniature trip hazard within eighteen months. The floor beneath it is fine. The trim is not. That is a false economy in every sense.
Solid brass with a powder-coated finish is not a luxury upgrade for people with large budgets. It is simply what a quality flooring finish looks like. Everything else is a repair waiting to happen.
— Matt
Premium trims from Qualitycarpettrims
If you are planning a flooring project and want transitions that will last, Qualitycarpettrims supplies solid brass door threshold bars hand-finished in ten luxury colours, designed to suit any interior scheme from traditional to contemporary. Every trim is made in the UK, and the solid brass construction means they will not split, bend, or dent regardless of foot traffic.

Whether you need hardfloor to hardfloor trims for a tile to wood junction, or a carpet edge solution for a bedroom doorway, the range covers the full spectrum of domestic transition needs. Free samples are available, delivery is fast, and expert guidance is on hand to help you choose the right profile and finish before you order. Explore the full range of premium flooring trims and see the finish options for yourself.
Common questions
What is the purpose of a hardfloor transition strip?
A transition strip covers the expansion gap between two floor surfaces, manages height differences, and provides a safe, finished edge. Without one, floating floors can buckle and height changes become trip hazards.
How do I choose between a T-moulding and a reducer?
Use T-moulding when both floors are the same height and a reducer when one floor is higher than the other. Height difference is the deciding factor, and the 2026 National Flooring Authority standards set clear thresholds for each profile type.
Can I nail a transition strip directly to my laminate floor?
No. Fixing strips directly into floating floorboards restricts the floor’s ability to expand and contract, which causes buckling. Always fix transition strips to the subfloor or door frame instead.
What makes solid brass trims better than other materials?
Solid brass does not split, bend, or dent under foot traffic. Combined with a powder-coated finish, it resists chipping, fading, and cleaning chemicals, giving a trim that lasts the lifetime of your floor rather than needing replacement within a year or two.
Where should a transition strip sit in a doorway?
Position the strip directly beneath the door when it is in the closed position. This hides the trim when the door is shut and creates a clean, professional reveal when it opens.
Recommended
- Hardfloor transitions explained: seamless joins for perfect floors
- Seamless carpet to hardfloor connections: expert guide
- Achieve seamless floors: understanding multi-floor transitions
- Achieve seamless floor transitions: step-by-step UK workflow