
Blog
Defining flooring compatibility: the UK DIY and contractor guide

May
TL;DR:
- Proper flooring compatibility requires assessing moisture levels, subfloor conditions, and movement needs to prevent failures. Testing is crucial, especially for moisture, with standards recommending a sealed hood hygrometer for accurate long-term readings. Selecting appropriate materials and trims based on these factors ensures a durable, seamless installation that minimizes callbacks and maintenance.
Most people assume flooring compatibility means picking a trim that matches the floor colour. It does not. Defining flooring compatibility properly means examining moisture levels, subfloor flatness, material expansion rates, adhesive tolerances, and transition trim behaviour as a connected system. Get any one of those wrong and you are looking at buckled planks, failed adhesive bonds, and lifted edges within months. This guide covers everything UK contractors and DIY installers need to know, from in-situ moisture testing to selecting the right transition trim for every flooring interface.
Table of Contents
- Defining flooring compatibility: why moisture and subfloor condition come first
- Floors, adhesives, and vapour barriers: matching materials to moisture levels
- Floating floors and expansion gaps: ensuring movement compatibility
- Transition trims: the key to seamless, durable flooring interfaces
- Common pitfalls and expert tips for ensuring lasting flooring compatibility
- Rethinking flooring compatibility: beyond materials and appearances
- Explore premium brass and powder-coated trims for unmatched compatibility
- Frequently asked questions
Key Takeaways
| Point | Details |
|---|---|
| Moisture testing is essential | Accurate slab moisture measurement prevents installation failures and guides barrier selection. |
| Match adhesives to conditions | Choose adhesives and vapour barriers rated for your subfloor’s moisture levels for lasting flooring. |
| Maintain expansion gaps | Floating floors need consistent gaps and careful trim installation to avoid movement restrictions. |
| Select durable trims | Solid brass, powder-coated trims resist damage better than cheaper alternatives, preserving fit and finish. |
| Plan transitions strategically | Locate transition joints at doorways or natural thresholds to hide joins and allow smooth floor movement. |
Defining flooring compatibility: why moisture and subfloor condition come first
Before you consider which flooring looks good together, you need to know what is happening beneath your feet. The subfloor is where most compatibility failures begin. A concrete slab that reads above 75% relative humidity (RH) is not ready for most floor coverings, regardless of how good the product is. BS 8203 and BS 5325 set this 75% RH threshold as the upper limit for resilient and timber flooring installation over concrete, above which adhesive failure becomes almost inevitable.
Testing matters far more than guessing. The British Standard method uses a sealed hood hygrometer left in contact with the slab for a minimum of 72 hours. A quick surface reading with a pin meter tells you very little about what is happening deeper in the slab. Many failures happen because contractors test after 24 hours and install the next day, only to find the floor reacting months later.
Key subfloor checks before any installation:
- Relative humidity: Test at multiple points across the slab, particularly near external walls and low spots
- Surface regularity: British Standard tolerances require no more than 3mm deviation under a 1.8 metre straightedge for most resilient flooring
- Contamination: Old adhesive residue, paint, or grease prevent bonding and must be removed before priming
- Structural movement: Any flex or bounce in a suspended timber subfloor will cause floating floors to creak and joints to open
“A subfloor that looks dry is not always dry. Moisture migrates upward through concrete continuously, and seasonal changes alter readings significantly. Always test, never assume.”
Pro Tip: If you are working on a ground-floor slab without a damp-proof membrane, assume the RH will be above 75% until testing proves otherwise. Plan for a moisture suppression system from the outset rather than hoping the reading comes in below the threshold.
Understanding flooring transition methods early in a project helps you plan moisture mitigation around door positions and room junctions, rather than retrofitting solutions later.
Floors, adhesives, and vapour barriers: matching materials to moisture levels
With moisture fundamentals established, we can examine how flooring systems and adhesives must be matched to measured moisture conditions. This is where the importance of flooring compatibility becomes most technical and most consequential.
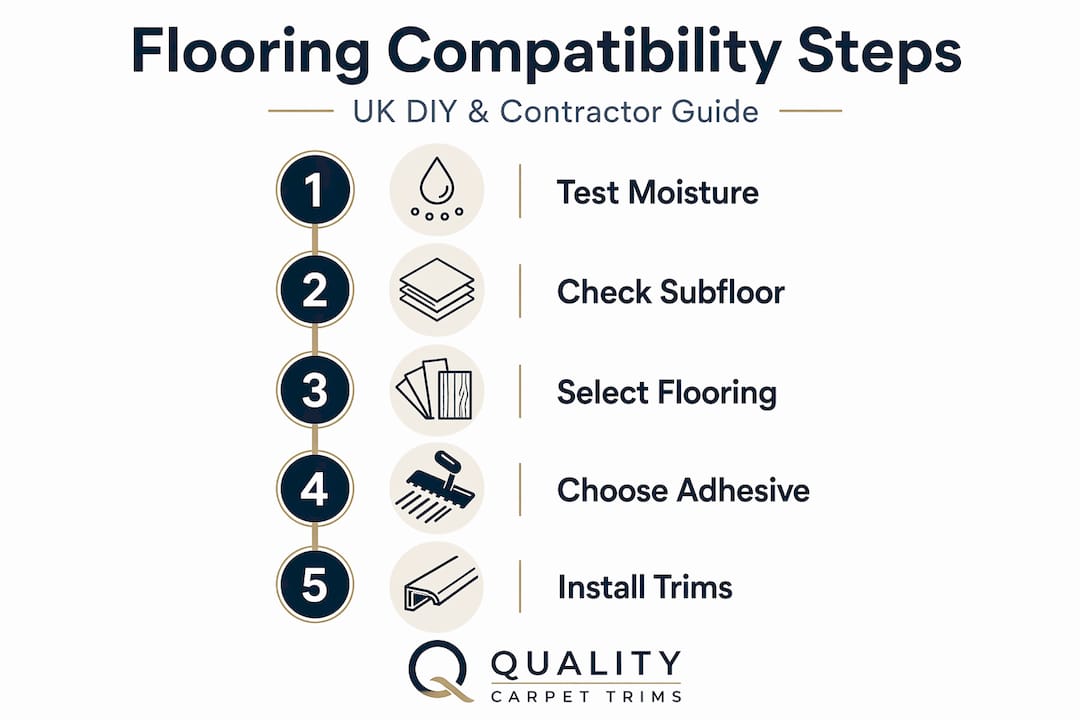
Different floor coverings have very different tolerances. Solid hardwood is the most demanding: it typically requires RH below 75% and a vapour retarder installed beneath any plywood subfloor. Even a brief period of elevated moisture can cause cupping, splitting, and permanent distortion. Engineered wood is more forgiving, but it still has limits that manufacturers specify to the decimal point. Luxury vinyl tile and luxury vinyl plank (LVT/LVP) are often marketed as waterproof, which is true of the planks themselves, but the adhesive and subfloor beneath are not immune.
Glue-down LVT/LVP adhesives tolerate approximately 75 to 80% RH under standard formulations, while specialist moisture-tolerant adhesives rated to 90 to 95% RH can remove the need for a separate vapour barrier entirely. This changes the cost and labour equation significantly on projects where slab moisture is consistently elevated.
| Flooring type | Typical RH limit | Adhesive type needed | Barrier required? |
|---|---|---|---|
| Solid hardwood | 75% max | Flexible wood adhesive | Yes, vapour retarder |
| Engineered wood | 75–80% | Moisture-resistant wood adhesive | Often yes |
| Glue-down LVT/LVP | 75–80% | Standard pressure-sensitive | Often not |
| LVT/LVP with specialist adhesive | Up to 95% | Moisture-tolerant adhesive | No |
| Carpet with underlay | 75% | N/A (gripper or tack strip) | Depends on slab |
Matching materials to conditions also affects the professional flooring trim methods you choose at each junction. A moisture-suppression system changes the finished floor height, which directly affects which reducer or threshold profile you need.
Common adhesive and barrier mistakes to avoid:
- Applying adhesive over unprimed concrete: primer seals porosity and ensures consistent bond strength
- Using standard adhesive on a high-moisture slab: the bond will fail within months as moisture continues to migrate
- Ignoring pot life: adhesives have a working window; applying flooring too early or too late compromises the bond
- Skipping acclimatisation: solid and engineered wood must acclimatise to the room’s temperature and humidity before installation, typically for 48 to 72 hours
Floating floors and expansion gaps: ensuring movement compatibility
After understanding moisture and barrier requirements, it is vital to grasp how physical floor movement affects trim compatibility. Floating floors, whether laminate, click LVP, or floating engineered wood, are not bonded to the subfloor. They expand and contract as a single panel in response to changes in temperature and humidity. If anything restricts that movement, the floor has nowhere to go except up.
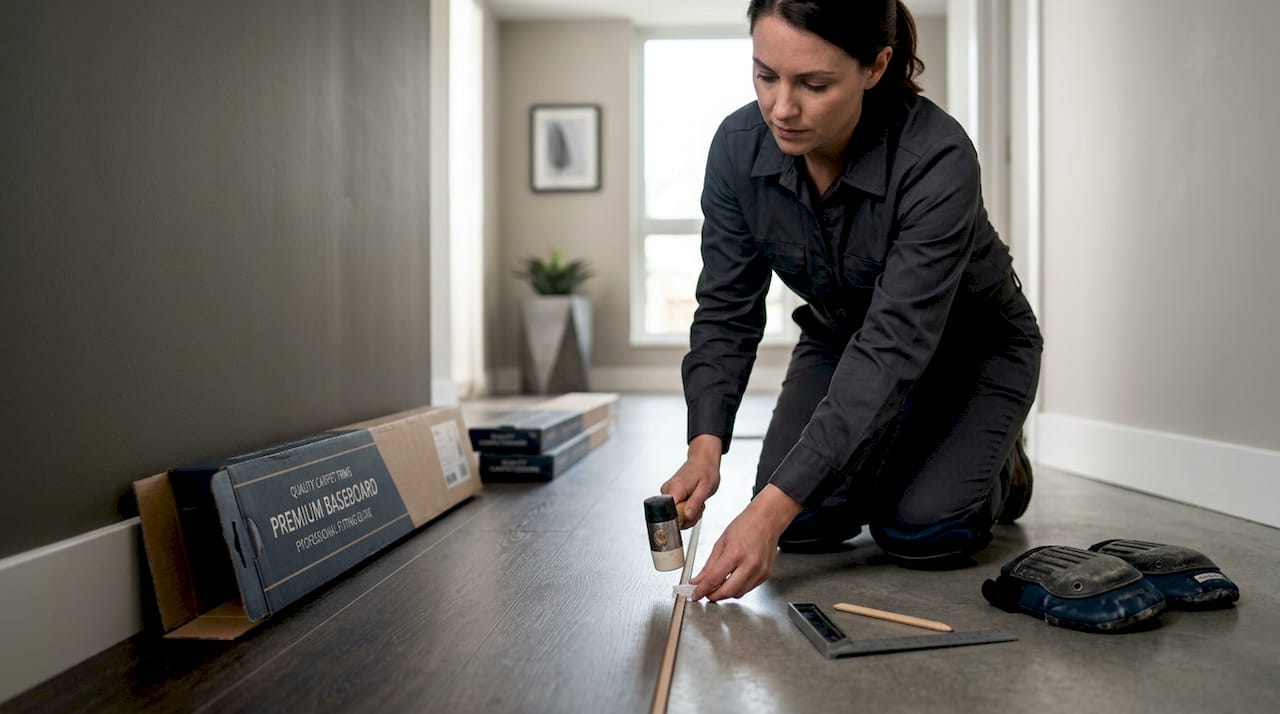
Typical expansion gaps are around 6mm for click LVP and roughly 10mm for laminate. In the UK, where homes can swing between cold damp winters and warmer drier summers, these gaps earn their existence every single year. Pinch the movement at even one wall or trim and buckling or joint separation will follow.
How to manage expansion correctly across an installation:
- Leave the full gap around every fixed object: walls, pipes, door casings, kitchen island supports, and hearths all count as fixed objects
- Undercut door casings and architraves: use a handsaw or oscillating tool so the flooring slides beneath, rather than butting against, the casing
- Anchor transition trims to the subfloor, not the floating floor: this is the single most important rule in floating floor installation
- Plan movement breaks for large rooms: any continuous floating floor run exceeding approximately 8 to 10 metres in either direction needs a transition trim to break the panel into two independent sections
- Check manufacturer guidance for room-size limits: some click systems have maximum continuous area specifications that, if exceeded, void the product warranty
“The expansion gap is not decorative. It is an engineered tolerance that keeps the floor functional. Covering it with a trim is fine. Filling it with silicone or adhesive is not.”
Pro Tip: When installing flooring edge trims against skirting boards, always check that the trim foot does not press against the floating panel. The trim should sit over the floor surface without transferring any lateral load onto it.
Transition trims: the key to seamless, durable flooring interfaces
Having covered movement and expansion, we can now focus on selecting and fitting transition trims, which are the physical components that translate all the technical decisions above into a visible, lasting finish.
The trim type you need depends primarily on the height difference between the two floor surfaces meeting at the junction. Professional transitions anchor to the subfloor and accommodate expansion gaps, rather than bridging them with rigid pressure that pins the floating floor in place.
| Trim type | When to use it | Typical height difference |
|---|---|---|
| T-moulding | Two floors of equal or near-equal height | 0 to 3mm |
| Reducer | Moving from a higher to a lower surface | 3 to 15mm |
| Threshold / door bar | Between two rooms at a doorway | Flexible to most heights |
| End cap / edge trim | Exposed floor edge at a step or sliding door | Variable |
| Carpet-to-hard floor bar | Carpet meeting laminate, LVP, or tile | Dependent on carpet pile |
Flooring material combinations also determine which trim performs best long-term. For understanding what each profile does and how to select the right one, a good flooring edge trims guide removes much of the guesswork.
When matching flooring types at a junction, consider:
- Height: measure both finished floor surfaces before ordering trims, including underlay or screed build-up
- Movement: confirm the trim channel or screw track fixes to the subfloor and that the cap can slide or move independently if needed
- Finish: the trim should complement both floor surfaces, which is why solid brass with a powder-coated finish outperforms cheaper pressed metal that dulls, splits, or dents over time
Understanding flooring trim essentials before starting a project means you can order the right profiles on the first attempt, rather than retrofitting mismatched trims that compromise both the look and the structural behaviour of the installation.
Common pitfalls and expert tips for ensuring lasting flooring compatibility
With compatibility strategies clear, it is worth naming the mistakes that consistently lead to callbacks and failed installations. These are avoidable errors, and understanding them is a core part of any practical flooring compatibility guide.
The most frequent failure in floating floor installations is restricting movement at transitions and door casings, which causes buckling and joint separation. It happens because the trim is screwed through the floating panel rather than the subfloor, or because silicone is applied into the expansion gap thinking it will look tidier.
Mistakes to avoid on every project:
- Skipping moisture testing: no amount of premium flooring product compensates for a damp slab
- Relying on visual matching alone: two floors that look compatible may have completely different expansion rates and moisture sensitivities
- Installing trims before acclimatisation is complete: the floor may shift after trim installation, creating pressure points
- Using lightweight pressed or folded metal trims: these dent under foot traffic, corrode in damp conditions, and bend during installation, making a clean fit nearly impossible
- Ignoring subfloor flatness: a high spot beneath a floating floor creates a pivot point where repeated foot traffic will eventually crack the joint lock
Pro Tip: Plan your transition joint positions before you start laying the floor, not after. Placing joints at closed-door lines means the trim is hidden when the door is open and naturally framed when it is closed. This one decision reduces the visual impact of every transition across the project.
For a detailed look at resolving issues that arise during or after installation, flooring trim problem solutions covers the most common failures and their fixes.
Rethinking flooring compatibility: beyond materials and appearances
Here is the perspective most flooring guides miss. Compatibility is almost always framed as a product selection exercise: which floor goes with which? But in practice, the failures we see most often have nothing to do with the floor covering itself. They come from treating each component as independent rather than as part of a connected interface system.
Think of it this way. A beautiful solid oak floor laid over a slab reading 82% RH with a standard adhesive will fail. Not because the oak is wrong, not because the adhesive is counterfeit, but because nobody validated the full system before installation began. Compatibility depends on validating the entire flooring system including adhesives, moisture barriers, and trims, not just the visible layer.
The same logic applies to transition trims. A trim is not decorative punctuation at the end of a floor run. It is a functional component in the moisture and movement interface. It needs to anchor correctly, leave the floor free to move, and resist the physical demands placed on it daily. A trim that dents on first contact with a furniture leg, or corrodes in a bathroom doorway, has failed the system regardless of how good the floor on either side looks.
We believe the most important shift for both DIY installers and professional contractors is to adopt an interface-specification mindset. Before any product is ordered, define the moisture condition, define the movement requirements, define the height tolerances at each junction, and then select materials that match all three. That process is what truly defining flooring compatibility looks like in practice. It is not complicated, but it does require discipline before the tools come out.
Applying this approach consistently reduces costly callbacks, avoids warranty disputes, and produces installations that genuinely last. For projects where advanced transition methods are needed, having the system specification clear from the start means every trim decision is grounded in real project data rather than guesswork.
Explore premium brass and powder-coated trims for unmatched compatibility
Everything covered in this guide points to the same conclusion: the quality of your trim matters as much as the quality of your floor. Cheap pressed metal trims dent, split at the edges, and corrode in areas with any moisture exposure. They also make a clean, movement-friendly installation far harder to achieve.

At Quality Carpet Trims, every door bar and threshold is solid brass, hand-finished in your choice of ten premium finishes, from brushed gold to matt black. They anchor firmly to the subfloor, leave your floating floor free to move, and hold their finish under years of daily foot traffic. Whether you need reducers for carpet-to-laminate junctions, door bars for room transitions, or specialist profiles for matwell flooring trims and recessed mat areas, you will find the right solution here. Browse the full range of flooring trim finish options or check our flooring trim terminology guide to identify exactly what your project needs before you order.
Frequently asked questions
What is the ideal moisture level in concrete for installing timber flooring?
The accepted maximum in-situ relative humidity for timber flooring over concrete is 75% RH, as set by BS 8203 and BS 5325. Above this threshold, moisture mitigation measures must be in place before installation begins.
Can floating floors be installed without expansion gaps?
No. Floating floors must have consistent expansion gaps around all fixed objects to accommodate natural movement. Pinching that movement at trims or casings causes buckling and joint damage that is expensive to correct.
What trims are best for maintaining flooring compatibility in UK homes?
Solid brass trims with a powder-coated finish are the most durable and compatible choice. They resist splitting, bending, and denting under sustained foot traffic, and they anchor to the subfloor without restricting floating floor movement.
How do I prevent adhesives from failing under vinyl flooring?
Match the adhesive specification to your measured slab RH before installation. Moisture-tolerant adhesives rated to 90 to 95% RH can eliminate the need for a separate vapour barrier, but if readings exceed even those limits, a moisture suppression system is required first.
Where should flooring transition joints ideally be placed?
Position transitions at natural thresholds such as doorways, where the join visually disappears beneath the door when it is open and is naturally framed when it is closed, minimising visual interruption across the installation.
Recommended
- What is a flooring transition: guide for UK homeowners 2026
- Floor level transition guide for UK homeowners 2026
- Commercial flooring trims: UK standards and installation
- Vinyl flooring bars: A practical UK guide for seamless transitions