
Blog
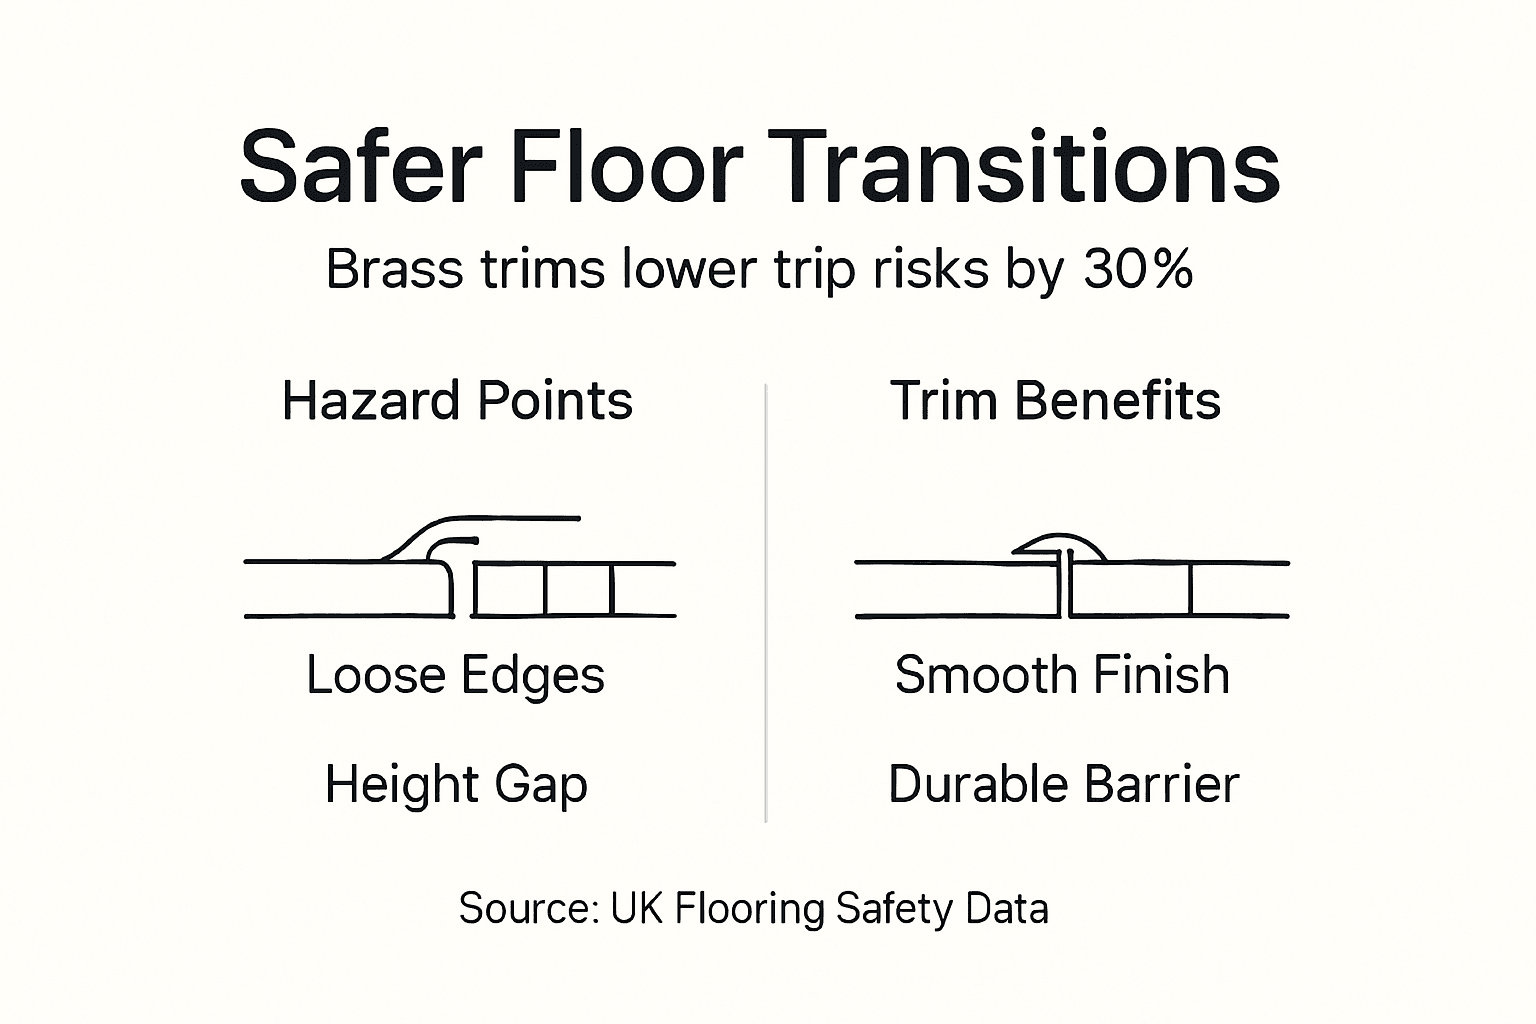
Brass carpet to tile trims reduce trip hazards by 30%

Mar
Many homeowners believe all carpet to tile trims perform the same job equally well, leading to costly mistakes in material selection. The truth is that brass trims significantly outperform aluminium alternatives in durability, safety, and longevity. Choosing the right trim profile and material can reduce trip hazards by up to 30% whilst protecting your flooring investment for decades. This guide reveals how to select and install the perfect carpet to tile trim for seamless, safe transitions in your home.
Table of Contents
- Introduction To Carpet To Tile Trims
- Profiles And Design Options For Carpet To Tile Trims
- Material Choices And Finishes
- Handling Height Differences With Carpet To Tile Trims
- Installation Guidelines And Common Pitfalls
- Benefits Of Using Carpet To Tile Trims
- Common Misconceptions About Carpet To Tile Trims
- Conclusion And Practical Recommendations
- Explore Premium Carpet To Tile Trims At Quality Carpet Trims
Key takeaways
| Point | Details |
|---|---|
| Brass outlasts aluminium | Solid brass trims last 2-3 times longer than aluminium, resisting corrosion and bending. |
| Safety improvement | Properly installed trims reduce trip hazards by up to 30% in residential settings. |
| Height compensation | Carpet to tile height differences from 5mm to 31mm require precise measurement and shim adjustment. |
| Installation matters | Over 40% of trim failures stem from incorrect installation techniques. |
| Edge protection | Trims prevent carpet fraying and tile chipping, extending flooring lifespan significantly. |
Introduction to carpet to tile trims
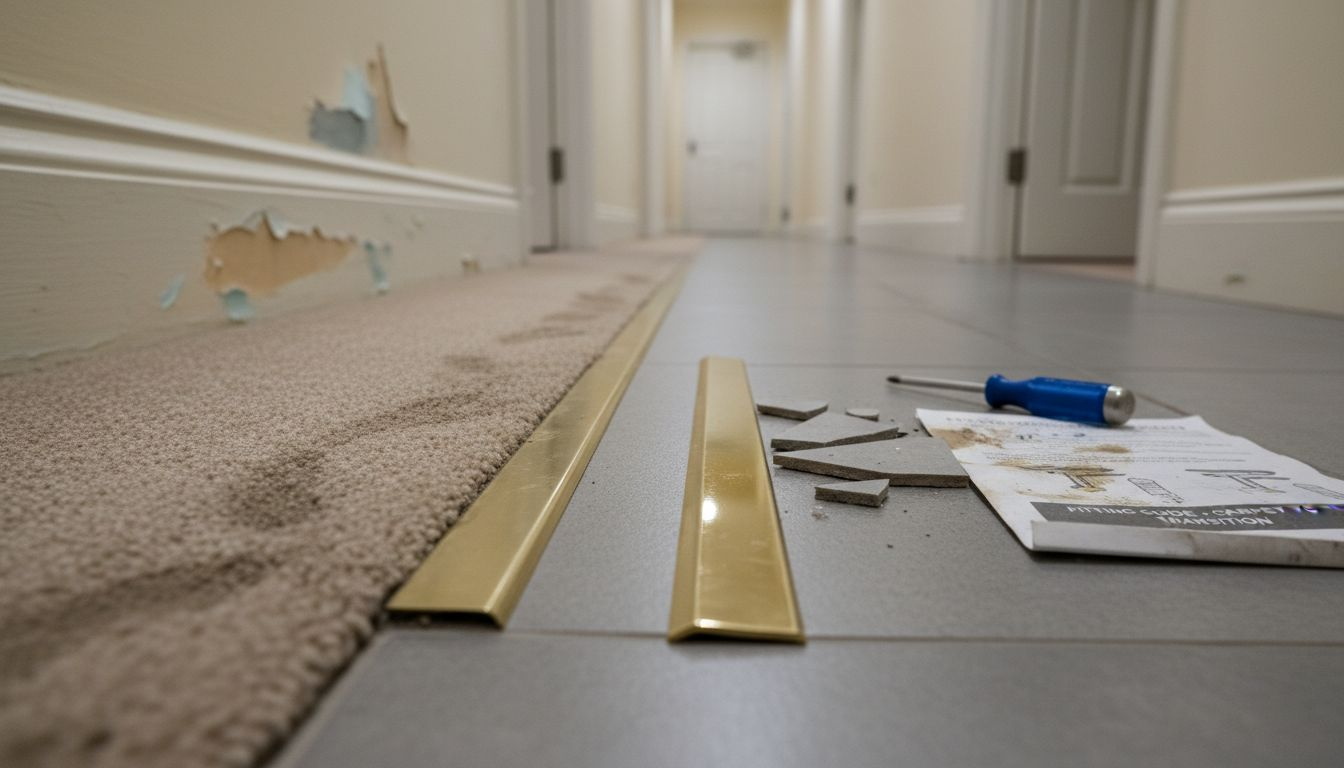
Carpet to tile trims are metal strips designed specifically to bridge the transition where carpeted floors meet tiled surfaces. These strips serve multiple critical functions beyond simple aesthetics. They create a smooth, safe pathway between two different flooring materials whilst protecting the vulnerable edges of both.
What is a carpet trim? Understanding their purpose helps you appreciate why quality matters. The primary benefits include:
- Enhanced visual appeal through neat, professional transitions that complement interior design
- Improved safety by eliminating raised edges and uneven surfaces that cause trips and falls
- Protection against carpet fraying at edges and tile chipping from direct contact
- Extended lifespan for both flooring types by preventing premature wear and damage
Without proper trims, carpet edges quickly fray and unravel whilst tile edges chip from foot traffic impact. The exposed carpet backing deteriorates rapidly when subjected to moisture and dirt accumulation. Tiles crack under concentrated stress at unprotected edges.
Quality trims distribute weight evenly across the transition point, preventing localised damage. They create a sealed barrier that stops dirt and moisture from penetrating beneath flooring materials. This protective function proves particularly valuable in high-traffic areas like hallways, doorways, and room entrances.
The right trim transforms an awkward flooring junction into a seamless design feature. It signals attention to detail and quality craftsmanship throughout your renovation project. Now let’s explore how different profile designs affect both performance and appearance.
Profiles and design options for carpet to tile trims
Trim profiles determine how effectively the strip bridges gaps and accommodates height differences between flooring surfaces. The two most common profiles in UK residential projects are Z-bar and slimline Z-bar designs.
Z-bar profiles feature a distinctive Z-shaped cross-section that spans gaps whilst gripping both flooring edges securely. Carpet trim profiles explained in detail reveals their versatility. These profiles work well for:
- Standard transitions where carpet and tile meet at similar heights
- Situations requiring moderate gap coverage between 8mm and 25mm
- Installations where the trim needs to compress carpet pile slightly for a tight fit
Slimline Z-bar profiles offer a more discreet appearance with narrower top widths, typically 15mm compared to 20mm for standard profiles. This creates a subtle, barely noticeable transition line that appeals to minimalist design preferences. The reduced profile suits modern interiors where understated elegance matters.
Pro Tip: Measure your gap width and height difference precisely before ordering trims. Even 2mm variations affect how the trim sits and performs over time.
Most quality trims come in standard lengths of 900mm and 2700mm to accommodate various room widths. You can cut longer strips to exact measurements during installation. Carpet to tile trim options vary significantly in top width, thickness, and finish.
| Profile type | Typical gap size | Visual impact | Best application |
|---|---|---|---|
| Standard Z-bar | 10-25mm | Moderate presence | High-traffic areas, traditional décor |
| Slimline Z-bar | 8-20mm | Minimal, discreet | Modern interiors, subtle transitions |
| Wide Z-bar | 20-31mm | More prominent | Larger height differences, commercial use |
Profile choice works hand in hand with material selection to maximise both durability and style integration with your home’s existing décor.
Material choices and finishes
Solid brass stands as the superior material choice for carpet to tile trims, dramatically outperforming aluminium and PVC alternatives. Solid brass trims are significantly more durable and resistant to bending and corrosion than aluminium, lasting 2-3 times longer in residential use.
Brass offers inherent advantages that directly impact trim performance and longevity:
- Superior strength prevents bending under foot traffic, maintaining perfect alignment for years
- Natural corrosion resistance eliminates rust and degradation in moisture-prone areas like bathrooms and kitchens
- Excellent malleability during manufacture allows precise shaping without structural weakness
- Weight and density provide stability that keeps trims firmly in place
Aluminium trims appear attractive initially due to lower cost but fail prematurely. They bend easily under concentrated weight, creating raised edges that become trip hazards. Oxidation causes unsightly white corrosion that spreads across the surface. The lightweight construction allows trims to work loose from fixings over time.
PVC trims represent the poorest choice, lacking structural integrity and professional appearance. They yellow with UV exposure and crack under temperature fluctuations common in UK homes.
Carpet to tile trim material choices extend beyond base metal to include hand-finished surfaces. Popular finishes include:
- Antique brass for traditional and period properties, offering warm, aged character
- Polished chrome providing modern, reflective elegance in contemporary settings
- Satin nickel delivering understated sophistication with minimal glare
- Polished brass creating classic luxury appeal in high-end renovations
- Bronze finishes complementing earthy tones and rustic interior schemes
Finish selection should harmonise with existing door furniture, light switches, and cabinet hardware throughout your home. Consistent metalwork finishes create visual cohesion that elevates overall interior design quality. The top fitting mistakes UK guide emphasises matching finishes to avoid clashing elements.
Quality brass trims accept hand finishing that creates depth and character impossible with cheaper materials. This craftsmanship distinguishes premium products from mass-produced alternatives. Understanding how to handle height differences ensures your chosen trim performs optimally.
Handling height differences with carpet to tile trims
Height variations between carpet and tile surfaces typically range from 5mm to 31mm in UK residential properties. This difference stems from tile thickness, adhesive bed depth, underlay thickness, and carpet pile height combined. Accommodating these variations correctly ensures safe, level transitions.
Measure height differences accurately using these steps:
- Install your tile completely including adhesive and grout before measuring
- Lay carpet underlay in its final compressed state near the transition point
- Place a spirit level across both surfaces to identify the exact height gap
- Record measurements at multiple points along the transition line, noting any variation
- Select trim profile and accessories based on the maximum height difference measured
Shims and plywood strips underneath trims compensate for height disparities. These materials raise the trim’s fixing position to create a smooth ramp effect from the lower surface to the higher one. For differences under 10mm, adhesive alone often suffices. Larger gaps require physical packing.
Pro Tip: Always double check height measurements with all final flooring layers installed including underlay and tile adhesive before ordering trims to avoid expensive mistakes.
Self-adhesive compression ramps work perfectly in delicate situations involving carpet to tile threshold solutions where you cannot nail or screw fixings. Underfloor heating systems particularly benefit from adhesive-only installations that avoid puncturing heating elements.
Installation sequence matters enormously. Tiles should be laid first, allowed to cure fully, then grouted before trim installation begins. This prevents tile movement during trim fixing that could crack grout lines. Carpet installation happens last, with the gripper rod positioned to allow the trim to compress pile edges securely.
Complex height differences exceeding 25mm may require custom solutions or consultation with flooring specialists. Attempting to bridge extreme height variations with standard trims creates unstable, unsafe transitions prone to failure. Understanding correct installation procedures prevents most common problems.
Installation guidelines and common pitfalls
Proper installation determines whether your carpet to tile trim performs flawlessly for decades or fails within months. Improper installation accounts for over 40% of flooring transition failures reported in UK residential renovations.
Follow this step-by-step installation procedure:
- Clean and level the subfloor thoroughly, removing debris, dust, and protrusions
- Install tiles first including adhesive and grout, allowing full curing time
- Position the trim dry to check fit and mark fixing points every 300mm
- Account for underlay compression by placing sample pieces beneath the trim during dry fitting
- Drill pilot holes for screws or apply appropriate adhesive according to trim specifications
- Secure the trim firmly, checking level continuously along its length
- Install carpet last, tucking edges beneath the trim lip whilst compressing pile evenly
- Inspect the finished transition from multiple angles, correcting any raised edges immediately
Common errors sabotage even quality trims:
- Ignoring underlay thickness causes the trim to sit too high, creating trip hazards
- Choosing incorrect trim width leaves gaps or forces awkward overlaps
- Poor subfloor preparation allows trims to rock or settle unevenly over time
- Skipping level checks during installation creates waves and dips along the transition
Pro Tip: Hire a professional fitter if you’re unsure about handling complex height differences or working with expensive flooring materials, as mistakes prove costly to rectify.
“Installation errors cause the majority of trim failures, yet following basic guidelines virtually guarantees success for DIY enthusiasts willing to measure carefully and work methodically.”
The guide to selecting carpet trims provides detailed fitting instructions specific to different profiles. Taking time to understand your specific installation requirements before starting prevents frustration and wasted materials. Learning from common flooring trim mistakes helps you avoid repeating others’ expensive errors.
Correct installation maximises the substantial benefits that quality trims deliver to your home.
Benefits of using carpet to tile trims
Investing in quality carpet to tile trims delivers tangible advantages extending far beyond visual appeal. These benefits justify the modest cost through enhanced safety, durability, and property value.
Safety improvements rank as the primary benefit:
- Trims reduce trip hazards by up to 30% compared to unfinished transitions
- Smooth, level transitions eliminate catching hazards for children, elderly residents, and mobility-impaired individuals
- Secure edge protection prevents carpet lifting that causes stumbling accidents
- Consistent surface height throughout reduces fall risk in high-traffic circulation areas
Durability and protection advantages include:
- Metal trims protect carpet edges from fraying and tile edges from chipping, increasing flooring lifespan significantly when installed correctly
- Sealed transitions prevent moisture penetration that causes subfloor rot and carpet mould
- Even weight distribution across edges reduces concentrated wear patterns
- Professional appearance maintains visual appeal throughout the flooring’s life
“Quality trims transform vulnerable transition points into protected, permanent features that preserve flooring integrity for decades rather than years.”
Aesthetic benefits enhance interior design quality. Neat, professionally finished transitions signal attention to detail throughout your renovation project. Consistent metalwork finishes create visual harmony linking different rooms and spaces. The subtle elegance of well-chosen trims elevates perceived property value.
Financial advantages emerge during property sales. Prospective buyers notice quality finishing details that indicate overall renovation standards. Why use carpet trims becomes obvious when comparing properties with and without professional trim installations. Estate agents confirm that superior finishing details positively influence buyer perceptions and offer prices.
Preventing costly repairs represents another financial benefit. Protected flooring edges avoid premature replacement expenses. A £50 trim investment protects thousands of pounds worth of carpet and tile from damage. The floor trims benefits multiply over time as your flooring maintains its condition whilst unprotected alternatives deteriorate.
Understanding these benefits helps counter common misconceptions about trim necessity and function.
Common misconceptions about carpet to tile trims
Several persistent myths mislead homeowners into poor trim choices or avoiding them altogether. Dispelling these misconceptions ensures informed decisions that deliver optimal results.
Myth one claims all trim materials perform equally well. This fundamentally false belief costs homeowners dearly. Aluminium simply cannot match brass durability or corrosion resistance. The visual difference between quality brass and cheap alternatives becomes obvious within months as inferior products degrade whilst brass maintains its appearance.
Myth two suggests trims serve purely decorative purposes without functional necessity. This dangerous misconception ignores crucial safety and protection roles. Even perfectly level transitions benefit from edge protection preventing fraying and chipping. Unfinished edges deteriorate rapidly regardless of initial height matching.
Myth three assumes any trim fits all situations regardless of height differences or gap widths. Profile selection directly impacts performance and safety. Using narrow profiles for wide gaps leaves unprotected edges. Attempting to bridge large height differences with inadequate profiles creates unstable, hazardous transitions.
Myth four proposes that installation complexity makes professional fitting essential for everyone. Whilst complex situations warrant expert help, straightforward installations suit confident DIY enthusiasts. Following proper procedures and measuring carefully ensures success. The key lies in honestly assessing your skill level and situation complexity.
Myth five maintains that trim material choice matters little since all products meet basic standards. UK building regulations set minimum requirements, but exceeding minimums delivers superior long-term performance. Choosing premium brass over minimum-specification aluminium provides decades of trouble-free service versus years of declining performance.
These misconceptions stem partly from limited product knowledge and partly from marketing by manufacturers of inferior alternatives. Understanding the truth behind these myths empowers you to make confident, informed purchasing decisions. Armed with accurate information, you can select trims that genuinely meet your specific requirements.
Conclusion and practical recommendations
Selecting the right carpet to tile trim requires careful consideration of height differences, material quality, finish compatibility, and installation requirements. Measuring precisely before ordering prevents costly mistakes and installation failures.
Solid brass UK-made, hand-finished trims represent the optimal choice for homeowners prioritising longevity, safety, and aesthetic quality. These premium products justify their modest price premium through decades of reliable performance and maintained appearance. Cheap alternatives cost more long-term through premature replacement and potential safety incidents.
Consulting experts and requesting free samples before committing to large orders reduces risk significantly. Seeing and feeling actual trim samples helps you assess quality, finish accuracy, and size suitability. Expert advice tailored to your specific flooring situation prevents specification errors.
Pro Tip: Plan your trim installation timing carefully with your flooring contractors to ensure proper sequencing and optimal fit, avoiding rushed decisions during active renovation work.
The value and peace of mind delivered by premium trims far exceeds their cost. Protected flooring edges, enhanced safety, professional appearance, and extended lifespan combine to make quality trims an investment rather than an expense. Your renovation deserves finishing details that match the quality of your primary flooring choices.
Approaching your carpet to tile transition with the same care you applied to selecting your flooring materials ensures cohesive, professional results. Quality trims complete your renovation properly, delivering satisfaction for years ahead.
Explore premium carpet to tile trims at Quality Carpet Trims
Now that you understand what makes quality carpet to tile trims essential, explore our professionally curated range designed specifically for UK homes. We stock solid brass trims in multiple finishes and profiles, all hand-finished to exacting standards at our UK manufacturing facility.

Our matwell flooring trims handle the most demanding transitions whilst our carpet to hardfloor trims suit various interior styles. Browse our full range of carpet trims to find perfect matches for your renovation project.
Every product comes with expert fitting advice and our quality guarantee. Our customer support team helps you select the right profile and finish for your specific situation. Order samples to assess quality and finish accuracy before committing to your final choice.
Frequently asked questions
What height difference can carpet to tile trims accommodate?
Standard trims handle height differences from 5mm up to 31mm effectively when paired with appropriate shims or packing materials. Measure your specific height difference with all flooring layers installed, then select trim profiles designed for your range. Complex situations exceeding 31mm require specialist consultation.
Can I install carpet to tile trims myself or should I hire a professional?
Confident DIY enthusiasts successfully install trims following detailed instructions and measuring carefully. Straightforward installations with moderate height differences suit DIY approaches. However, complex situations involving large height variations, underfloor heating, or expensive flooring materials warrant professional fitting to avoid costly mistakes.
How do finishes on brass trims affect maintenance?
Polished finishes require occasional buffing to maintain shine whilst satin and antique finishes hide minor marks naturally. All brass finishes resist corrosion without special treatment. Simply wipe with damp cloths during routine floor cleaning. Avoid abrasive cleaners that could scratch decorative finishes.
Are trims necessary if carpet and tile are level?
Yes, trims remain essential even when surfaces align perfectly. They protect vulnerable carpet edges from fraying and tile edges from chipping regardless of height matching. Unprotected transitions deteriorate rapidly from foot traffic and moisture exposure. Trims also enhance safety by creating defined, stable transition zones.
What is the lifespan of a solid brass trim compared to aluminium?
Solid brass trims typically last 20 to 30 years or more in residential settings with minimal maintenance. Aluminium trims often fail within 7 to 10 years due to bending, corrosion, and finish degradation. The extended lifespan makes brass the economical choice despite higher initial cost.
Recommended
- Carpet To Tile Trim – Quality Carpet Trims
- What Is a Carpet Trim? 30% Safer & 3x Longer Lasting
- Carpet To Tile Transition Strip – Overcome height differences
- Carpet To Carpet Trim – Quality Carpet Trims