
Blog
What are multi-purpose trims? A homeowner’s guide

Jun
TL;DR:
- Multi-purpose trims are versatile flooring profiles that serve as T-mouldings, reducers, or end caps. They protect edges, cover expansion gaps, and create a professional finish at floor transitions. Proper selection and installation of these trims enhance the durability and appearance of any flooring project.
Multi-purpose trims are single-strip flooring profiles that can be configured as a T-moulding, reducer, or end cap, giving you one product that handles several different transition needs. They sit at the junction between two floor surfaces, covering expansion gaps, protecting exposed edges, and creating a tidy, professional finish. For homeowners and DIY enthusiasts, they are one of the most practical accessories in any renovation toolkit. Choosing the right trim, in the right material and finish, is what separates a floor that looks built to last from one that looks unfinished.
What are multi-purpose trims and how do they work?
A multi-purpose trim is a versatile flooring profile designed to perform several transition functions in a single strip. Most configurations cover three roles: T-moulding bridges two floors of equal height, a reducer steps down between floors of different heights, and an end cap finishes an exposed flooring edge against a wall or step. Multi-purpose trims accommodate height transitions from 0mm to 12mm depending on the product. That range covers the vast majority of domestic flooring combinations.
The term “multi-purpose trim” is a descriptive label used widely in the trade. The recognised industry term is a transition profile or transition strip, and you will see both used interchangeably in flooring catalogues and fitting guides. Understanding both terms helps when you are searching for products or reading installation instructions.
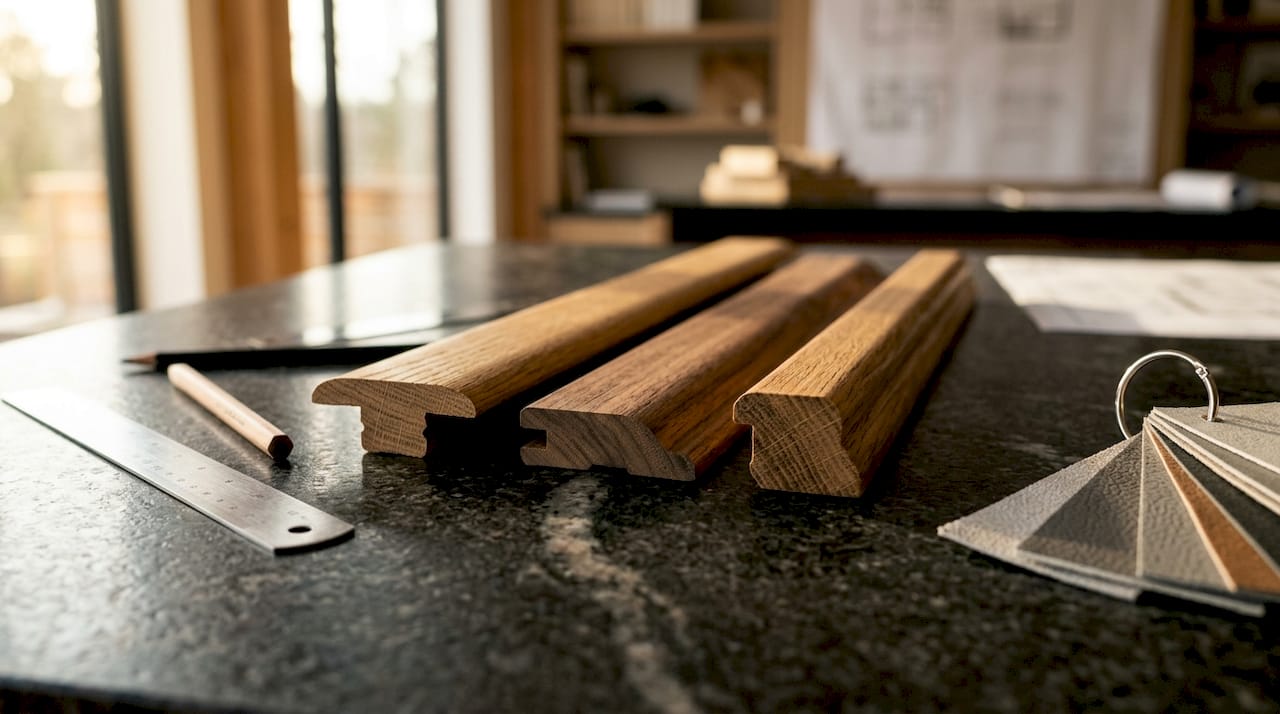
Multi-purpose trims differ fundamentally from decorative trims such as baseboards or crown mouldings. Decorative trims are primarily aesthetic architectural mouldings, while multi-purpose transition profiles are performance-led products. They manage movement, protect edges, and eliminate trip hazards. The distinction matters because choosing a decorative profile for a functional transition role will fail quickly.
Common profile configurations at a glance
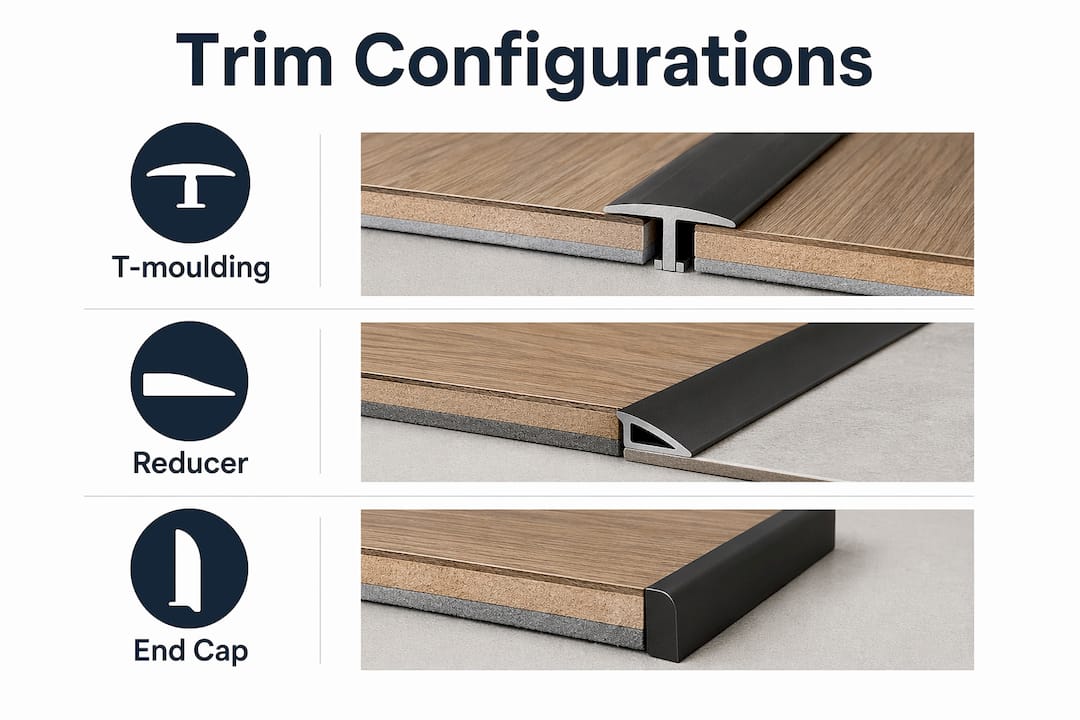
| Configuration | Function | Typical use |
|---|---|---|
| T-moulding | Bridges two floors at equal height | Doorways between two hard floors |
| Reducer | Steps down between two floor heights | Laminate meeting a lower vinyl floor |
| End cap | Finishes an exposed flooring edge | Floor meeting a sliding door track |
What are the main benefits of multi-purpose trims?
Multi-purpose trims perform four core jobs in any flooring installation: they manage flooring movement, protect edges, remove tripping hazards, and deliver a clean aesthetic finish between materials. Proper installation prevents virtually all flooring buckling caused by forced-fit installations. That single benefit alone justifies the cost of a quality trim.
The practical benefits for homeowners are significant:
- Edge protection. Exposed flooring edges chip and absorb moisture without a trim in place. A solid brass trim seals that edge and prevents long-term damage.
- Trip hazard reduction. A raised or uneven floor junction is a genuine safety risk, particularly for children and older adults. A reducer profile smooths the step between two surfaces.
- Expansion gap coverage. Floating floors need room to expand and contract with temperature and humidity changes. A multi-purpose trim covers that gap without restricting movement.
- Design continuity. A well-chosen trim ties two different floor surfaces together visually, giving the room a finished, considered appearance.
- Moisture resistance. Premium trims suited to kitchens and bathrooms need to resist water ingress. Solid brass with a powder-coated finish handles damp conditions far better than plastic or wooden alternatives, which warp, crack, and discolour over time.
Pro Tip: If you are fitting flooring in a kitchen or bathroom, always choose a trim with a waterproof finish. Wooden trims swell and split. Plastic trims discolour and lift. Solid brass with a powder coat holds its finish for years in wet conditions.
Homeowners often underestimate how much a trim affects the perceived quality of a finished room. Well-chosen trims act as framing elements that elevate the overall finish and make the difference between a floor that looks DIY and one that looks professionally installed.
How to choose the right multi-purpose trim for your project
Selecting the correct trim starts with two measurements: the height of your flooring and the width of the gap you need to cover. Most multi-purpose trims handle height transitions up to 12mm, so measure both floor surfaces before ordering. A trim that is too shallow will not bridge the gap cleanly, and one that is too wide will look clumsy.
Follow these steps to make the right choice:
- Measure your floor heights. Use a steel rule to measure the finished height of each floor surface at the transition point. Note the difference in millimetres.
- Identify the profile you need. Equal heights need a T-moulding. A height difference needs a reducer. An exposed edge needs an end cap.
- Match your architectural style. Traditional homes suit layered profiles with more visual weight, while modern interiors favour flat, minimal trims with clean lines.
- Order physical samples. Colours look different under artificial lighting than they do in natural daylight. A sample in your actual room is the only reliable way to confirm a match.
- Choose your finish carefully. Qualitycarpettrims offers solid brass trims hand-finished in 10 luxury finishes. That range covers everything from brushed gold to matt black, so you can match existing door furniture and fittings precisely.
- Avoid cheap materials. Wooden trims split and swell. Plastic trims crack and discolour. Rubber trims compress and lift. Solid brass trims resist denting, splitting, and bending in ways that cheaper alternatives simply cannot match.
Pro Tip: Order a free sample before you commit to a full purchase. Hold it against your flooring in the room where it will be fitted, at different times of day. Lighting changes colour perception significantly, and a sample prevents a costly mismatch.
Testing physical samples rather than relying on online swatches is the single most effective way to avoid renovation dissatisfaction. Screens display colours inconsistently, and even professional photographers cannot fully capture how a finish reads in a specific room.
What are the best practices for installing multi-purpose trims?
Installation quality determines how long a trim performs. A trim fitted correctly on day one will still look sharp years later. One fitted badly will lift, creak, or buckle within months.
Follow this installation sequence for a durable result:
- Leave the correct expansion gap. Floating floors need room to move. The recommended expansion gap is approximately 10mm around the perimeter and at transition points. Skipping this gap is the most common cause of floor buckling.
- Mark your fixing points accurately. Use a pencil and steel rule to mark the centre line of your transition gap before drilling. Misaligned marks lead to a trim that sits off-centre and looks unprofessional.
- Drill to the correct depth. Drilling too deep can damage underfloor heating pipes or subfloor materials. Check your subfloor construction before you start and set your drill depth accordingly.
- Use the correct fixing hardware. Installation kits include plugs or slim-track mounting hardware designed for floating floor installations. Use the supplied fixings rather than substituting with general-purpose screws, which can work loose over time.
- Check alignment before fixing permanently. Lay the trim in position without fixing it first. Stand back and check it reads straight from a distance. Adjust before committing.
- Clean and maintain the finish. Solid brass trims with a powder-coated finish need only a damp cloth to stay clean. Avoid abrasive cleaners, which can scratch the surface coating. The finish on a quality solid brass trim will outlast the flooring it protects.
Pro Tip: For uneven floor transitions, use a spirit level across both floor surfaces before fitting. Even a 1mm variation in subfloor level can cause a trim to rock. Pack the subfloor if needed before you fix the trim.
Incorrect drilling depth and missing expansion gaps are the two most common causes of trim failure after installation. Both are entirely avoidable with five minutes of preparation before you pick up a drill.
Key takeaways
Multi-purpose trims are the most versatile flooring accessory available, combining T-moulding, reducer, and end cap functions in a single solid brass strip that protects edges, covers expansion gaps, and delivers a professional finish.
| Point | Details |
|---|---|
| One trim, three functions | A multi-purpose trim works as a T-moulding, reducer, or end cap depending on your floor configuration. |
| Material quality matters | Solid brass trims resist splitting, bending, and denting; wooden, plastic, and rubber alternatives fail under normal use. |
| Measure before you order | Check the height difference between your two floor surfaces and confirm it falls within the 0–12mm range the trim accommodates. |
| Always test a sample | Order a physical sample and check it in your room under real lighting before purchasing the full length. |
| Leave the expansion gap | A 10mm expansion gap at transition points prevents floor buckling and keeps the trim secure long-term. |
Why I think most homeowners underestimate their trims
Most renovation budgets treat trims as an afterthought. Homeowners spend weeks choosing flooring, tiles, and paint colours, then grab the cheapest trim available at the last minute. That decision is almost always regretted.
A trim is the last thing you see when you look at a floor junction, and the first thing that shows wear. A plastic trim that yellows or a wooden one that splits does not just look bad. It signals that the whole project was finished in a hurry. Conversely, a solid brass trim in a finish that matches your door handles and light fittings makes the entire room look considered and complete.
The other mistake I see regularly is choosing a trim based on an online swatch. Screens lie. A finish that reads as warm gold on a monitor can look brassy and orange in a north-facing room under artificial light. The only way to know is to hold a physical sample in the actual space. Qualitycarpettrims offers free samples for exactly this reason, and it is one of the most useful things you can do before committing to a purchase.
My honest advice: treat the trim as part of the design, not a finishing detail. Match it to your ironmongery, choose solid brass over anything cheaper, and test a sample before you order. Those three decisions will give you a floor that still looks right in ten years.
— Matt
Premium solid brass trims from Qualitycarpettrims
Qualitycarpettrims supplies solid brass multi-purpose trims hand-finished in 10 luxury finishes, from brushed satin to matt black, designed to complement any interior style.
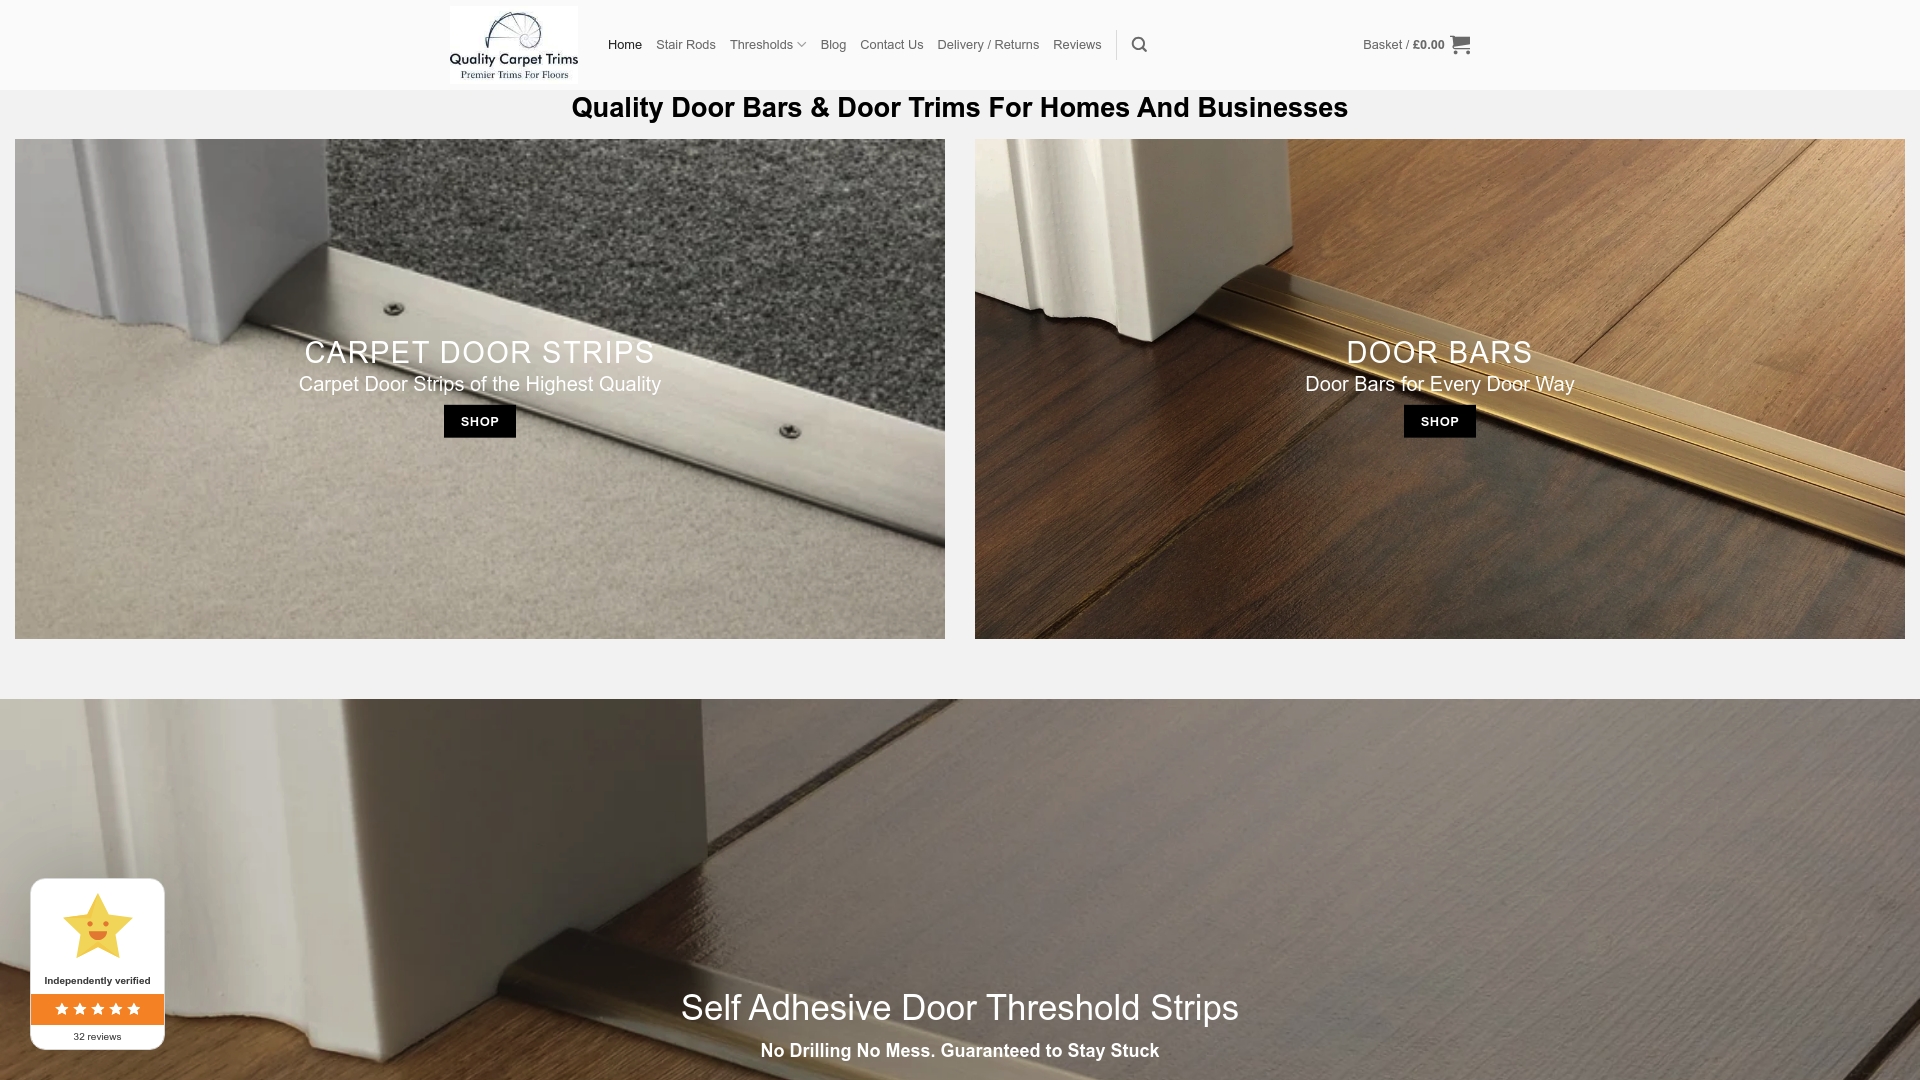
Every trim is manufactured in the UK, hand-finished, and built to resist the denting, splitting, and bending that cheaper alternatives cannot withstand. Whether you are connecting carpet to hardfloor, laminate to vinyl, or finishing an exposed edge, the Matwell flooring trim range covers the most common domestic transition needs. Free samples are available, delivery is fast, and the team offers expert advice if you are unsure which profile suits your project. Browse the full range and order your sample at qualitycarpettrims.co.uk.
FAQ
What does a multi-purpose trim actually do?
A multi-purpose trim covers the expansion gap between two floor surfaces, protects exposed flooring edges, and removes trip hazards at transitions. It can be configured as a T-moulding, reducer, or end cap depending on your floor heights and layout.
What height difference can a multi-purpose trim cover?
Most multi-purpose trims accommodate height transitions from 0mm to 12mm. Measure both floor surfaces before ordering to confirm the trim will bridge your specific gap.
Why choose solid brass over other trim materials?
Solid brass trims resist denting, splitting, and bending in ways that wooden, plastic, and rubber trims cannot. Wooden trims swell and crack, plastic trims discolour and lift, and rubber trims compress over time. A solid brass trim with a powder-coated finish holds its appearance for years.
How do I know which trim profile I need?
If both floors are at the same height, use a T-moulding. If one floor is higher than the other, use a reducer. If you have an exposed flooring edge with nothing on the other side, use an end cap. Measure the height difference first, then match the profile to that measurement.
Do I need an expansion gap when fitting a multi-purpose trim?
Yes. Floating floors expand and contract with changes in temperature and humidity. The recommended expansion gap at transition points is approximately 10mm. Fitting a trim without this gap causes the floor to buckle as it expands.
Recommended
- Residential trim use: a homeowner’s complete guide
- Choosing trims for renovations: the complete guide
- Why use trims for commercial spaces: a complete guide
- The role of trims in kitchen fitouts: a complete guide