
Blog
How to solve flooring trim problems like a pro

May
TL;DR:
- Proper assessment and preparation are essential to avoid common flooring trim issues like gaps, cracks, or lifts that compromise both safety and aesthetics. Selecting the correct trim type and fixing method based on your floor type, wall curvature, and heating system ensures a seamless and professional finish. Diligent installation, thorough inspection, and diligent troubleshooting prevent most problems, saving time and reducing costly callbacks.
You’ve spent weeks choosing the perfect floor and paid good money to have it laid, only to stand back and notice an ugly gap running along the skirting, a raised edge that catches every passing foot, or a ragged transition between two floor types that looks anything but professional. These problems are far more common than most people realise, and they undermine both the look and the safety of an otherwise beautiful room. Getting your flooring trims right is just as important as selecting the floor itself, and this guide will walk you through every stage, from assessment and preparation to installation, troubleshooting, and final inspection.
Table of Contents
- Preparing for flooring trim installation
- Step-by-step: Installing trims for seamless floors
- Troubleshooting common mistakes and how to fix them
- Checking results and ensuring a professional finish
- Why most flooring trim problems are preventable
- Find the perfect trim solution with expert resources
- Frequently asked questions
Key Takeaways
| Point | Details |
|---|---|
| Assess floor and trim needs | Match trim type to floor style, transitions, and any special requirements for a professional finish. |
| Follow structured steps | Use a detailed checklist and sequence for smooth, safe and durable trim installation. |
| Avoid common mistakes | Prevent issues like gaps and loose joints by dry-fitting, scribing, and securing adequately. |
| Inspect and adjust | Double check every finish detail and correct imperfections for a flawless look. |
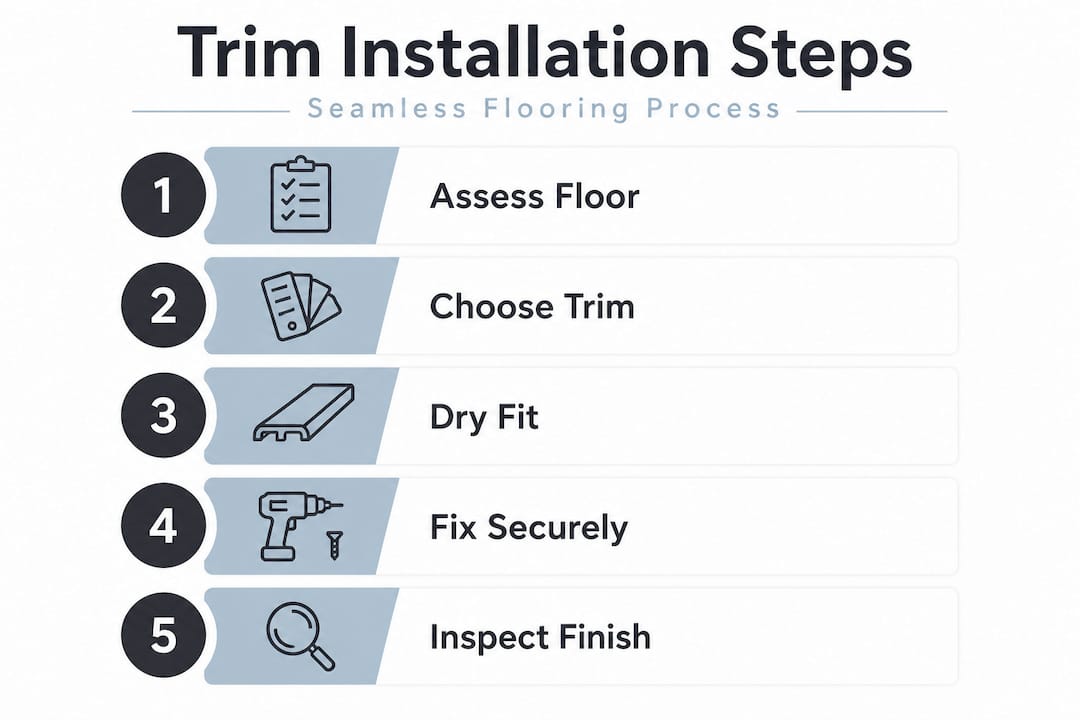
Preparing for flooring trim installation
Once you understand the critical role of trims, the next step is thorough preparation for a flawless outcome.
Before a single trim is cut or fixed, you need to assess exactly what you are working with. The type of floor you have installed will directly determine which trim you need and how it must be secured. A floating floor, for example, sits on top of the subfloor and moves slightly with temperature changes. A fixed or glue-down floor behaves very differently. Getting this wrong at the start leads to trims that crack, lift, or fail to close the gap they were designed to cover.
Floor conditions matter enormously. Floating vs fixed floors require different trims entirely; underfloor heating means you must avoid screws that could pierce the heating element; curved walls demand flexible skirting with a minimum bending radius of 400mm; and wood-to-tile transitions need careful expansion gap management to prevent buckling. Understanding these requirements before you purchase anything is the single most important step in the entire process.
Knowing your trim terminology explained before you shop will save you from buying the wrong product. Terms like T-bar, reducer, threshold, cover strip, and end cap all refer to specific trim profiles with specific jobs. Using a T-bar where you need a reducer, for instance, will leave an exposed lip that creates a trip hazard rather than a smooth transition.
Here is an essential checklist of tools and materials to gather before you begin:
- Tape measure and pencil
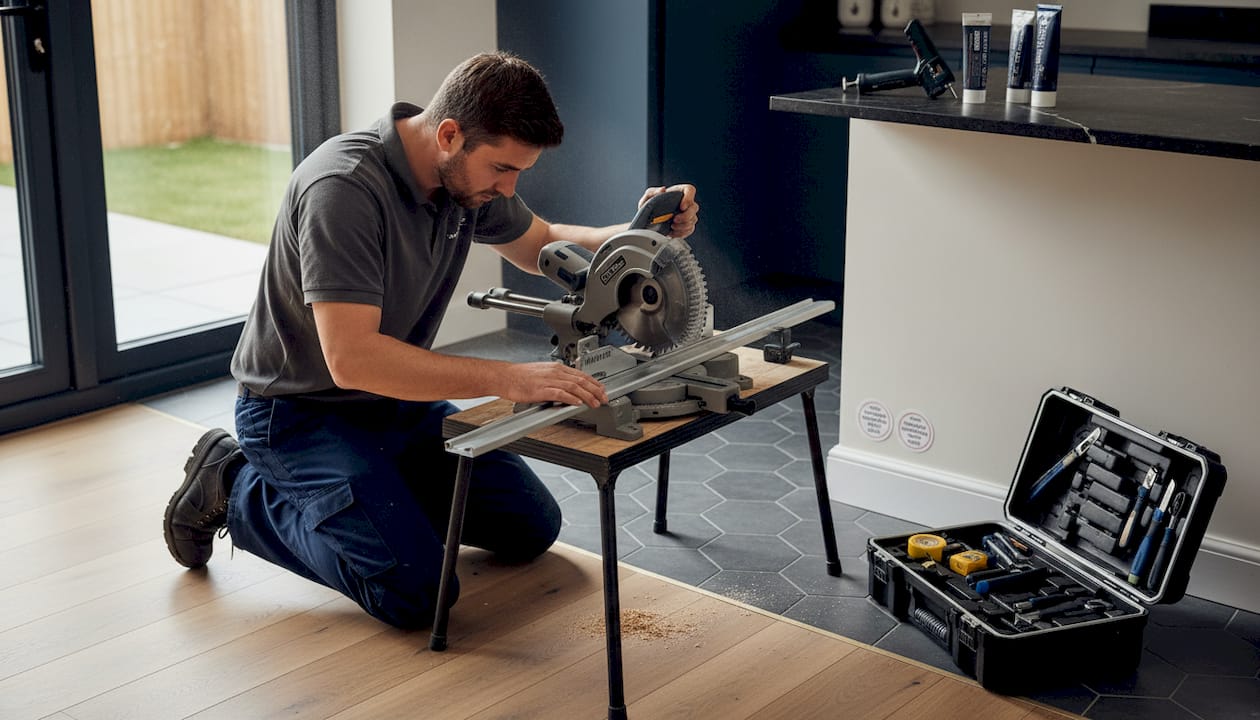
- Mitre saw or fine-tooth hand saw
- Hammer, screwdriver, or drill depending on fixing method
- Adhesive suitable for underfloor heating areas
- Spirit level and straight edge
- Scribe tool or compass for curved or uneven walls
- Appropriate trim profile for each transition (T-bar, reducer, threshold, cover strip, end cap)
- Matching floor finish samples to select the correct trim colour or metallic finish
- Safety goggles and knee pads
Pro Tip: Always dry-fit your trims before committing to the final installation. This is especially important on uneven surfaces or around curved walls, where even a small miscalculation will leave visible gaps that are very difficult to fix once the adhesive or screws are in place.
| Floor type | Recommended trim type | Fixing method |
|---|---|---|
| Floating laminate/vinyl | T-bar or reducer | Click or adhesive |
| Fixed hardwood to tile | Threshold or transition strip | Screw or adhesive |
| Carpet to hard floor | Carpet bar or gripper strip | Nail or screw |
| Underfloor heated floor | Reducer or cover strip | Adhesive only |
| Curved wall | Flexible skirting (min 400mm radius) | Adhesive |
Visiting a resource on choosing the right trim at this stage will help you match the profile precisely to your transition type, avoiding the costly mistake of buying a product that simply does not suit the job.
Step-by-step: Installing trims for seamless floors
With all materials and plans ready, it is time to follow a structured approach to installation.
Working methodically through each transition type will produce consistent, professional results. Here is a clear walkthrough for the most common scenarios.
1. Floating floor transitions (laminate or vinyl to another surface)
Measure the gap width at the doorway or transition point carefully. Cut the trim to length using a mitre saw for a clean, square finish. Slot the track or base into position and check it is straight with your spirit level. Attach the track using the appropriate fixing (most floating floor trims use a snap-in profile, requiring no adhesive or screws). Fit the cover strip by pressing it gently into the track until it clicks. Check the transition is flush on both sides.
2. Wood flooring to tile transition
This is one of the trickier scenarios because wood-tile transitions need expansion gap management to prevent buckling. Leave at least a 10mm expansion gap between the wood edge and the tile. Cut your threshold or reducer trim to length. If using a screw-fixed trim, drill pilot holes and secure the base strip first. Place the cover profile over the gap and fix according to the manufacturer’s instructions. Check that neither floor surface is being compressed by the trim.
3. Underfloor heated floors
Screws are dangerous here. A single misplaced screw can puncture a heating pipe or cable and create a very expensive repair job. Use only adhesive to secure your trims on any floor with underfloor heating. Apply adhesive to the subfloor in a bead, press the trim firmly into position, and allow full drying time before allowing foot traffic across the area.
4. Curved wall skirting
Flexible skirting should have a minimum bending radius of 400mm to follow a curved wall cleanly. Score the back of the trim lightly if needed to aid bending. Apply adhesive generously and press the skirting firmly against the wall, holding it in place with tape or temporary fixings while the adhesive sets.
Pro Tip: For underfloor heating, use adhesive rather than screws to secure trims. A good construction adhesive applied in a continuous bead will hold even heavy solid metal trims firmly without any risk to the heating system beneath.
Here is a comparison of flooring trim types for the most common problem areas:
| Transition type | Best trim option | Special requirement |
|---|---|---|
| Carpet to carpet (different heights) | Reducer bar | Allow for pile height difference |
| Wood to tile | Threshold or T-bar | Expansion gap essential |
| Laminate to vinyl | T-bar or cover strip | Check for flush height |
| Curved wall base | Flexible skirting | Min 400mm bending radius |
| Door threshold (external) | Heavy-duty threshold bar | Water-resistant fixing |
| Underfloor heating zone | Adhesive-fixed reducer | No screws at any point |
Following UK flooring standards ensures your installation meets the building and safety requirements expected in both residential and commercial settings. This matters particularly in rental properties and commercial premises where flooring compliance is checked during inspections.
Troubleshooting common mistakes and how to fix them
Even with careful planning, mistakes can easily occur. Here are the most common issues and how to address them effectively.
No installation goes perfectly every time. The important thing is recognising problems early and knowing exactly how to fix them without starting from scratch. Catching errors during installation is always easier than correcting them after the room is fully furnished.
The most frequent installation errors include:
-
Poor mitre joints at corners: Uneven plaster or slightly out-of-square walls mean that a standard 45-degree cut will leave a visible gap. The fix is to scribe the joint. Use a compass or scribe tool to trace the wall’s actual profile onto the trim, then cut along that line for a perfect fit.
-
Insufficient fixings causing movement: Trims fixed only at their ends will bow or lift in the middle over time, especially in high-traffic areas.
Skirting board fixings should be spaced no more than 400 to 600mm apart along the full length of the trim. Adding extra screws or adhesive points mid-length will eliminate this problem.
-
No bottom screws on skirting: Without a screw or fixing point at the base, skirting can spring away from the wall at floor level, leaving a gap that collects dirt and looks untidy. Always include a fixing near the bottom edge.
-
Gaps at the wall-to-floor junction: These often appear weeks after installation as the floor settles. Pre-fitting with a dry run allows you to spot potential gaps before they are locked in.
-
Trims lifting around underfloor heating: This happens when screws expand with heat and push the trim upward. Adhesive-fixed trims are immune to this problem.
Safety note: Always check for hidden cables, pipes, and heating elements before drilling or nailing into any floor or wall surface. A cable and pipe detector costs very little and can prevent a seriously dangerous situation. This applies equally to domestic and commercial settings.
Verifying your work as you progress through each section, rather than waiting until the entire room is complete, means that any problem can be corrected while the area is still accessible. Confirming trims terminology and cross-checking the specification against UK installation standards is particularly valuable on commercial jobs where sign-off inspections are required.
Checking results and ensuring a professional finish
Once the installation is wrapped up, it pays to be methodical in inspecting your results.
A careful final inspection is what separates a professional finish from a good attempt. Walk through the room slowly, examining every transition point, every corner join, and every length of skirting before considering the job complete. Here is a practical inspection sequence:
-
Check straightness along full length: Use a long straight edge or spirit level. Any bowing will catch the eye immediately in raking light, particularly in kitchens and hallways where long runs of skirting are visible.
-
Test fixings for movement: Push firmly along the trim. Nothing should flex, spring, or click. Loose sections need additional fixings or adhesive added before they cause damage.
-
Verify expansion gaps are consistent: For floating floors especially, the gap behind skirting or under transition trims should be uniform along its full length. Inconsistency means the floor is being pinched somewhere and will eventually buckle.
-
Inspect transitions for flush alignment: Run your finger across each transition trim. A lip of more than 1mm between surfaces is a trip hazard and will not meet building standards.
-
Check for visible adhesive or filler: Any squeeze-out of adhesive or caulk around the trim should be cleaned up while still fresh. Dried adhesive residue is difficult to remove cleanly and will affect the finished look considerably.
-
Confirm colour and finish consistency: In rooms with multiple door thresholds or transition points, all trims should have the same finish. Mixing finishes in the same space looks accidental rather than designed.
The seamless transitions you achieve through careful inspection are what clients and homeowners notice most. A floor that looks expensive and complete in every corner is the hallmark of a truly skilled installer.
Pro Tip: Photograph each completed transition and skirting run before the room is furnished. These images are invaluable as a reference for future maintenance, as evidence for clients on commercial jobs, and as a portfolio of your finishing quality.
Skirting board mistakes are almost always avoidable when you use scribed joints, add the right number of fixings, and rehearse the installation with a dry run. Taking an extra few minutes at the end to document your work closes the loop on the entire process.
Why most flooring trim problems are preventable
Reflecting on every stage of this guide highlights something that experienced fitters know well but rarely say out loud: the vast majority of trim failures are not caused by poor installation skill. They are caused by poor assessment at the very beginning.
Rushing through the evaluation stage is where things go wrong. A fitter who grabs a trim from the van without checking whether the floor is floating or fixed, without confirming the subfloor material, or without measuring the expansion gap requirement, is setting themselves up for a call-back. That call-back costs time, money, and reputation, and it is entirely avoidable.
Unusual situations deserve the most attention. A curved wall, an expansion zone near a conservatory, or a transition between an exotic hardwood and a large-format porcelain tile are not jobs to rush. They require a slower, more deliberate assessment. Spending 20 extra minutes planning these scenarios will consistently save two to three hours of remedial work later.
The right trim chosen upfront is always superior to the best troubleshooting afterwards. Exploring the full range of UK trim types guide before purchasing gives you the information to make that correct choice from the start.
We have also noticed that even small residential projects benefit enormously from the same planning discipline applied on commercial sites. A homeowner renovating a single hallway who takes 20 minutes to assess their floor type, measure their gaps, and select the correct trim profile will achieve a finish that looks genuinely professional. That is not luck. It is the direct result of good preparation.
Find the perfect trim solution with expert resources
To effortlessly apply the lessons of this guide, explore these curated expert resources and product collections.
At Quality Carpet Trims, we supply solid metal door bars and trims that are hand-finished in 10 beautiful finishes to complement any interior. Every product is British-made and built to last, whether you are fitting a single threshold in a hallway or specifying trims across a commercial development.

Browse our full range of matwell flooring trims for entrance areas and specialist applications, and use our detailed guides on types of flooring trims to identify exactly which profile suits your project. Our flooring trim terminology resource ensures you can communicate your requirements clearly and order with complete confidence. We also offer free samples so you can check the finish against your floor before committing to an order.
Frequently asked questions
What type of flooring trim should I use for curved walls?
Choose a flexible skirting with a minimum 400mm bending radius to conform cleanly to curved walls without cracking or lifting away from the surface.
How do I transition between wood flooring and tiles without gaps or buckling?
Use a threshold or reducer trim that allows for an adequate expansion gap between the two surfaces, preventing the wood from buckling as it naturally expands and contracts with temperature changes.
How can I avoid visible gaps when fitting skirting boards?
Scribe the joints to match the actual wall profile, add extra screws at regular intervals, and always dry-fit before fixing to reveal any potential gaps before the adhesive or screws are committed.
Can I use screws to fix trims on floors with underfloor heating?
No. Always use adhesive on floors with underfloor heating. Avoid screws entirely to eliminate the risk of puncturing heating pipes or cables beneath the surface.
Recommended
- Master professional flooring trim methods: 40% fewer fails
- Installing Flooring Edge Trims for Seamless Floor Transitions
- How to choose the right flooring trim: flawless finish
- Professional flooring transition methods: 5 trim types