
Blog
Guide to choosing door bars for flooring transitions

Jul
TL;DR:
- Door bars create safe, neat connections between different floor coverings and protect flooring edges.
- Choosing the correct profile depends on measuring floor heights and types to prevent gaps and trip hazards.
Door bars are metal transition strips that create safe, neat, and durable connections between different floor coverings in doorways. The industry term for these fittings is “threshold strip” or “transition strip,” but most homeowners search for them as door bars. Both terms refer to the same product, and knowing both helps you shop with confidence. Choosing the right door bar protects your flooring edges, prevents trip hazards, and gives every doorway a finished, professional look. This guide to choosing door bars covers types, selection criteria, installation, and troubleshooting so you get it right first time.
What are the main types of door bars?
Door bar profiles fall into five main categories, each designed for a specific flooring scenario. Picking the wrong profile is the most common mistake homeowners make, so understanding each type before you buy saves time and money.
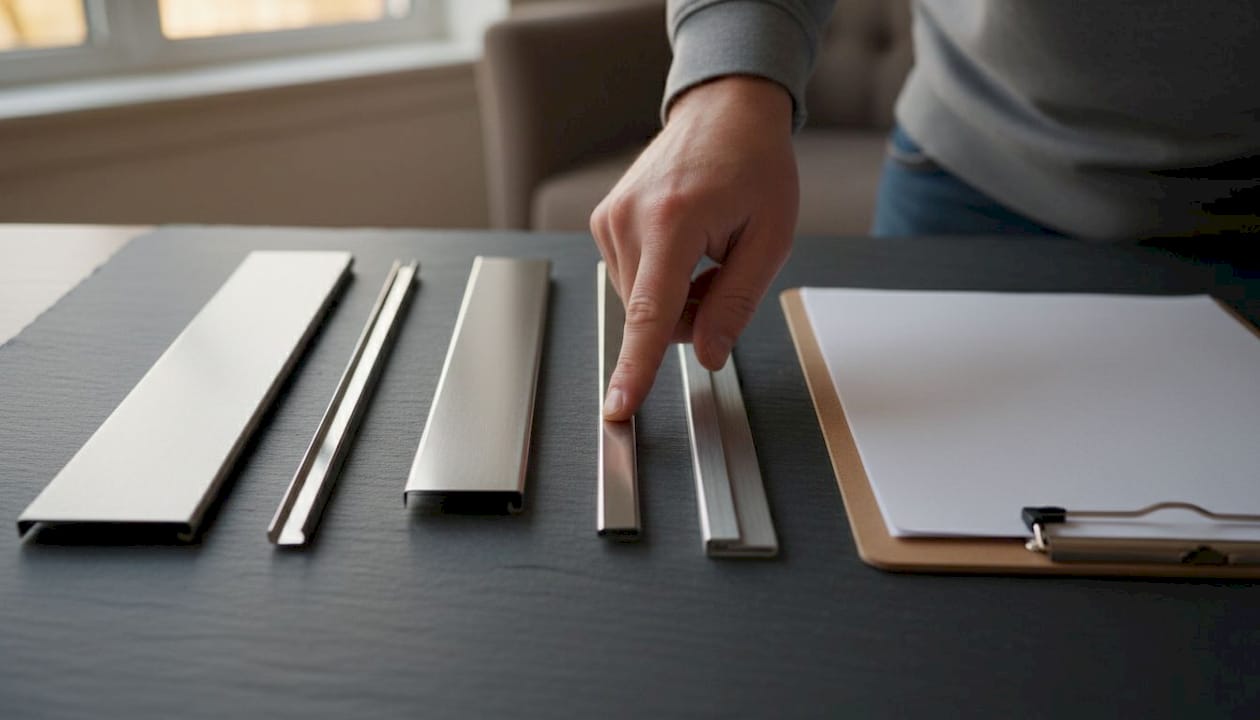
Carpet to carpet trims clamp and protect carpet edges where two carpeted rooms meet. They provide a secure, adjustable solution for joining rooms where pile heights differ slightly. The trim grips both edges firmly, stopping fraying and keeping the join tidy underfoot.
Z-profile and ramped trims handle carpet to hard floor transitions. They hold the carpet edge securely while creating a gentle slope down to the hard floor surface. This slope is the key safety feature: it prevents fraying and reduces trip risk where the two surfaces meet at different heights.
T-moulds cover the gap between two hard floors of equal height, such as laminate meeting laminate or LVT meeting tile. They sit centrally over the gap and provide the expansion space that floating floors need. Expansion gaps of 5–10 mm are required under T-moulds to prevent buckling as the floor moves with temperature changes.
Reducers and ramps address height differences between floors. They create a gentle slope from 3 mm to 15 mm or more, hiding exposed edges and removing the step that causes trips. These are particularly useful where a thick carpet meets a thinner LVT or tile.
Tile edge trims protect the exposed edge of a tiled floor where it terminates at a doorway. Without a trim, that edge chips and cracks over time. A solid brass tile edge trim holds the edge firm and gives the installation a clean finish.
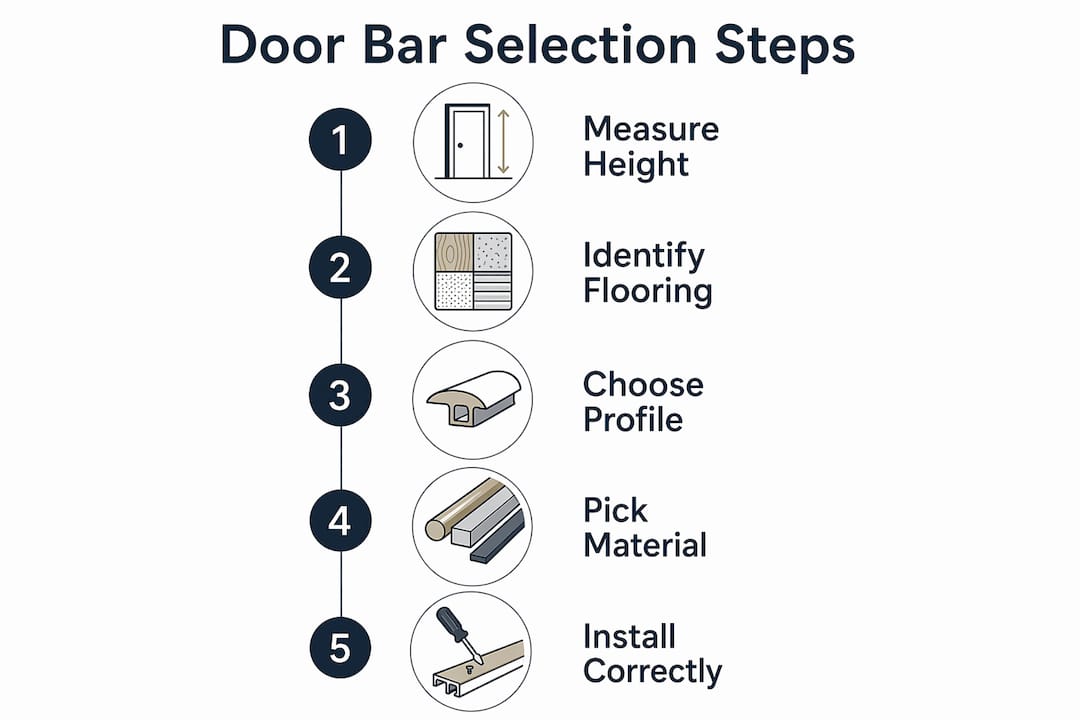
Here is a quick reference for matching profile to scenario:
| Flooring scenario | Recommended profile |
|---|---|
| Carpet to carpet, similar heights | Carpet to carpet clamp trim |
| Carpet to laminate, LVT, or tile | Z-profile or ramped trim |
| Laminate to laminate, equal height | T-mould |
| Any floor with a height difference of 3–15 mm | Reducer or ramp trim |
| Tile edge at doorway | Tile edge trim |
How to select door bars based on floor materials and height
Selecting the right door bar starts with two measurements: the thickness of each floor covering and the height difference between them. No universal standard measurements exist for door bars, so your specific floors dictate the profile you need. Getting this wrong means a trim that rocks, gaps, or creates a trip hazard.
Follow these steps to choose correctly:
- Measure each floor’s finished height from the subfloor surface. Use a steel rule and measure at the doorway itself, not in the middle of the room.
- Calculate the height difference. A difference of 3–5 mm suits a low-profile reducer. A difference of 10–15 mm needs a deeper ramp profile.
- Identify your floor types. Carpet needs a profile that grips the pile. Hard floors need a profile that sits flat and covers the expansion gap.
- Choose your face width. Standard face widths run from 20 mm to 50 mm to suit different doorway gaps. Wider trims cover uneven cuts and larger gaps while adding sturdiness underfoot.
- Select your finish. Match the trim to your door hardware, skirting boards, or floor colour for a cohesive look.
Why material choice matters more than most homeowners realise
The material your door bar is made from determines how long it lasts and how good it looks in five years. Solid brass and powder-coated metal trims resist splitting, bending, and denting under daily foot traffic. Wooden trims swell and crack with moisture. Plastic and rubber trims compress and deform under heavy use. Aluminium trims scratch easily and lose their finish quickly. None of those materials hold up the way solid brass does, which is why Qualitycarpettrims manufactures exclusively in solid brass with ten hand-finished luxury finishes.
Pro Tip: Order a free sample from Qualitycarpettrims before committing to a finish. Seeing the colour and weight in person, next to your actual flooring, prevents costly mismatches.
Step-by-step door bar installation tips
Good installation takes less than 30 minutes when you prepare properly. Rushing the preparation stage is where most DIY jobs go wrong.
Tools you will need:
- Steel tape measure and pencil
- Hacksaw or junior hacksaw for cutting to length
- Drill and appropriate drill bits
- Screwdriver or impact driver
- Adhesive (if using self-adhesive fixing)
- Safety glasses
Installation steps:
- Clean the subfloor surface in the doorway. Remove dust, adhesive residue, and debris. A clean surface is the single biggest factor in a secure fix.
- Check door clearance. The door must clear the trim when swinging open. A clearance of around 10 mm between the door bottom and the finished floor surface is standard practice. If the door drags, you will need to plane or trim the door bottom before fitting.
- Cut the trim to length. Measure the doorway width and cut the bar to fit. A hacksaw gives a clean cut on solid brass. File any sharp edges smooth after cutting.
- Choose your fixing method. Self-adhesive fixing suits clean, flat surfaces and low-traffic areas. Screw-down or clip-in fixing is the better choice for busy doorways, uneven subfloors, or anywhere the trim will take heavy use.
- Position the trim centrally under the closed door. Centring the bar under the door creates a neat reveal on both sides and improves drought control. Mark the position with a pencil before fixing.
- Fix the trim. For screw-down bars, drill pilot holes through the bar into the subfloor, then drive screws flush. For clip-in systems, fix the base channel first, then snap the cover profile into place.
- Leave expansion gaps for floating floors. Do not butt the trim hard against a floating floor. Leave 5–10 mm of expansion space and always check the floor manufacturer’s guidelines for the exact requirement.
Pro Tip: If your subfloor is concrete, use a masonry bit and plastic plugs before driving screws. Trying to screw directly into concrete without plugs strips the fixing and leaves the trim loose within weeks.
For a full walkthrough with photographs, the step-by-step fitting guide on the Qualitycarpettrims website covers every profile type in detail.
Common door bar problems and how to fix them
Even a well-chosen trim can cause problems if the installation conditions are not right. Knowing what to look for saves you from re-doing the job.
- Rocking or loose trim. This almost always means the subfloor is uneven or the fixing method was too light for the traffic level. Remove the trim, level the subfloor with a floor-levelling compound, and refit using screw-down fixings.
- Trim lifting at the edges. Self-adhesive trims lift when the surface was not clean or dry at the time of fitting. Strip the trim, clean the subfloor thoroughly, and refit with a screw-down bar.
- Height mismatch creating a trip hazard. If the trim sits proud of one floor surface, you have the wrong profile for the height difference. Replace it with a reducer or ramp that matches the actual gap.
- Finish wearing or discolouring. This is the tell-tale sign of a low-quality trim. Wooden, plastic, rubber, and aluminium trims all degrade under foot traffic and cleaning products. Solid brass and powder-coated trims from Qualitycarpettrims hold their finish and structural integrity far longer because the material does not split, bend, or dent.
- Buckling floating floor near the doorway. The expansion gap under the trim is too small. Remove the trim, increase the gap to the manufacturer’s recommended size, and refit.
A door bar that rocks, lifts, or sits proud of the floor is not just an aesthetic problem. It is a trip hazard that creates a liability in any home, particularly where children or older adults are present. Fix it immediately rather than leaving it for later.
When a trim is structurally sound but the finish is tired, a quality brass bar can simply be replaced with a matching profile. When the subfloor or the floor covering itself is damaged, address that first before fitting any new trim.
Key takeaways
Choosing the right door bar requires matching the profile to your specific flooring scenario, measuring height differences accurately, and selecting solid brass or powder-coated metal for lasting results.
| Point | Details |
|---|---|
| Match profile to scenario | Use Z-profile for carpet to hard floor, T-mould for equal-height hard floors, and reducers for height gaps of 3–15 mm. |
| Measure before you buy | Calculate the height difference between floors at the doorway itself, not in the middle of the room. |
| Choose solid brass | Solid brass and powder-coated trims resist splitting, bending, and denting; wooden, plastic, rubber, and aluminium trims do not. |
| Fix method to traffic level | Use screw-down or clip-in fixings in busy doorways; reserve self-adhesive only for low-traffic areas with flat, clean subfloors. |
| Leave expansion gaps | Allow 5–10 mm of expansion space under any trim fitted over a floating floor to prevent buckling. |
Why I always tell homeowners to buy the trim last
Most people buy the door bar first and measure second. I have seen this create problems on dozens of renovation projects. You order a trim based on what looks right online, it arrives, and then you discover the height difference is 12 mm, not 5 mm, and the profile you chose will not sit flat. The trim goes back, the project stalls, and you lose a week.
The correct order is: lay the floors, measure the finished height difference at the doorway, then order the trim. That sequence sounds obvious, but the excitement of finishing a renovation pushes people to order everything at once.
The second mistake I see constantly is choosing a trim based on price rather than material. A cheap trim looks fine on day one. By year two, it has compressed, discoloured, or started lifting at the edges. You then spend more money replacing it than you would have spent buying a solid brass bar in the first place. The maths always favours quality.
The third thing worth knowing is that finish matching matters more than most homeowners expect. A satin brass trim next to brushed nickel door handles looks wrong, even if the profile is perfect. Qualitycarpettrims offers ten hand-finished finishes precisely because interior colour schemes vary that much. Take the time to order a sample and hold it next to your hardware before committing.
— Matt
Qualitycarpettrims: solid brass door bars for every transition
Qualitycarpettrims supplies solid brass door bars hand-finished in ten luxury finishes, from satin brass to matt black, designed to complement any interior scheme.

Every bar is manufactured in the UK and finished by hand, so the colour and quality are consistent across your whole home. The range covers every transition scenario: carpet to hard floor, hard floor to hard floor, reducers, ramps, and tile edge trims. If you need help selecting the right profile, the Qualitycarpettrims team offers expert advice alongside free samples and fast delivery. Browse the full range of brass threshold strips and order with confidence knowing every trim is built to last.
FAQ
What are door bars used for?
Door bars are metal transition strips fitted in doorways to connect two different floor coverings neatly and safely. They protect flooring edges, cover expansion gaps, and eliminate trip hazards where floor heights differ.
How do I know which door bar profile I need?
Measure the height difference between your two floors at the doorway. Use a Z-profile or ramped trim for carpet to hard floor, a T-mould for equal-height hard floors, and a reducer for height differences of 3–15 mm.
Are self-adhesive door bars good enough?
Self-adhesive fixing works on clean, flat surfaces in low-traffic areas. For busy doorways or uneven subfloors, screw-down or clip-in fixings provide greater security and a longer-lasting result.
What width door bar do I need?
Standard face widths run from 20 mm to 50 mm. Choose a wider bar to cover uneven cuts or larger gaps, and a narrower bar where the gap is tight and the cut is clean.
Why do door bars lift or come loose?
Loose trims are almost always caused by a dirty or uneven subfloor at the time of fitting, or by using self-adhesive fixing in a high-traffic area. Clean the subfloor, level any unevenness, and refit using screw-down fixings for a permanent result.
Recommended
- Why use door bars? Safe, seamless flooring transitions
- Understanding door bars: enhance flooring transitions with style
- Understanding door bars: seamless flooring transitions made easy
- Door bars explained: seamless flooring transitions made simple