
Blog
Flooring Transition Guide for Perfect Metal Trim Fitting

Feb
Choosing the right metal trim for your new floor can feel overwhelming when every room in your British home presents a unique set of challenges. Safe, durable transitions are not just about looks—they prevent tripping hazards and prolong the life of your investment. This step-by-step guide explains how to assess your needs, select the best profile, and achieve a truly seamless finish between different flooring types, with a special focus on surface firmness and stability requirements built to last in any high-quality home.
Table of Contents
- Step 1: Assess Your Flooring Transition Requirements
- Step 2: Select The Ideal Solid Metal Trim Profile
- Step 3: Prepare Your Surfaces For Accurate Installation
- Step 4: Install And Secure Metal Trims For A Seamless Finish
- Step 5: Inspect And Refine Your Flooring Transition Result
Quick Summary
| Essential Insight | Detailed Explanation |
|---|---|
| 1. Assess flooring transition needs | Understand types of flooring and height differences to choose suitable trims. Measure gaps carefully to avoid issues during installation. |
| 2. Select the right trim profile | Choose profiles based on the height of adjoining floors for a smooth transition. Consider durability and edge design for safety. |
| 3. Prepare surfaces thoroughly | Clean, level, and moisture-test surfaces before installation to ensure durable adhesion and prevent misalignment. |
| 4. Secure trims properly | Ensure correct fastening method for your subfloor type, confirming a flush fit during installation for stability and safety. |
| 5. Inspect after installation | Conduct a final check for gaps and alignment, ensuring the trim is secure to guarantee long-lasting performance and safety. |
Step 1: Assess your flooring transition requirements
Before you purchase any metal trim, take time to understand exactly what your flooring transition needs to accomplish. This step determines which profile, finish, and height will work best for your specific situation.
Start by identifying all the flooring types you’re connecting. Are you joining carpet to tile? Laminate to hardwood? Vinyl to stone? Each combination presents different challenges and requires different solutions.
Measure the height difference between your adjoining floors. Use a straight edge or spirit level to identify any gaps or level changes. Even small variations of 3-5mm can affect trim selection and safety.
Consider your home’s traffic patterns and who uses the space. A hallway experiences different demands than a bedroom. High-traffic areas need more durable solutions that can withstand constant wear without movement or degradation.
Check surface firmness and stability requirements to understand how your flooring materials interact. Solid brass metal trims maintain their shape under pressure, unlike cheaper alternatives like aluminium, wooden, rubber, or PVC trims that can bend, split, or dent over time.
Assess the moisture exposure in your space. Bathrooms and kitchens demand different considerations than living areas. Moisture affects how materials perform and which finishes remain durable.
Identify any existing style or colour scheme. Your flooring transition choice should complement your interior design. Our hand-finished brass trims come in 10 luxury finishes to match virtually any décor.
Here is a comparison of common metal trim materials to help you select the right option:
| Material | Durability | Appearance | Maintenance Needs |
|---|---|---|---|
| Solid Brass | Extremely durable | Luxurious, 10 finishes | Very low, does not tarnish |
| Aluminium | Moderately durable | Silver/grey, prone to denting | Occasional polishing |
| Wood | Low durability | Matches timber floors | Requires sealing/varnish |
| PVC/Rubber | Least durable | Wide colours, but basic | Replace frequently |
| Stainless Steel | Very durable | Sleek, modern look | Minimal, wipe down |
Use this checklist to document your requirements:
- Flooring types being joined
- Height differences between floors
- Traffic level and usage patterns
- Moisture or humidity concerns
- Desired finish colour to match your home
- Any accessibility needs
Accurate assessment now saves time, money, and frustration during installation.
Pro tip: Take photographs of your transition areas from multiple angles and note down exact measurements in millimetres. This information will help you choose the correct profile and order the right quantity of trim material.
Step 2: Select the ideal solid metal trim profile
Now that you understand your flooring transition requirements, it’s time to choose the right trim profile. The profile you select determines how seamlessly your floors connect and how well the trim performs under daily use.
Profile selection depends on your specific flooring combination and height differences. A reducer profile works best when connecting a higher floor to a lower one, gradually stepping down the height. A threshold profile suits floors at equal heights, creating a smooth transition line. An angle trim works for corners or transitions requiring a sharper edge definition.
Consider the durability and material properties of your chosen profile. Solid brass metal trims are engineered to withstand impact, heavy traffic, and environmental stress without warping or damage. Cheaper alternatives like aluminium, wood, rubber, or PVC will split, bend, or dent under pressure.
Evaluate edge design for safety and comfort. A smooth, rounded edge prevents tripping hazards and feels natural underfoot. Sharp edges create safety risks and uncomfortable transitions.
Think about installation method. Does the profile suit your subfloor type? Some profiles require screwing down, whilst others sit in grooves or adhesive beds. Confirm compatibility before purchasing.
Review the types of flooring trims available to understand all your options. Our hand-finished brass trims come in 10 luxury finishes, ensuring your chosen profile matches your interior style perfectly.
Match your profile to these key criteria:
The table below summarises key considerations for selecting the best flooring trim profile:
| Profile Type | Best For | Transition Height |
|---|---|---|
| Reducer | Uneven floor levels | Differences of 3mm+ |
| Threshold | Floors of equal height | Minimal to no difference |
| Angle/Edge | Corners and sharp transitions | Any, especially angled joins |
| Flat Cover | Joining hard surfaces | Zero or near-zero difference |
- Height difference between adjoining floors
- Installation method available in your space
- Traffic level and durability needs
- Visual style and finish colour
- Compatibility with both flooring types
The right profile balances function, safety, and aesthetics seamlessly.
Pro tip: Order a free sample of your chosen profile and finish before committing to a full purchase. This allows you to see how the brass trim looks with your actual flooring colours and test the installation method in your specific space.
Step 3: Prepare your surfaces for accurate installation
Proper surface preparation is the foundation of successful metal trim fitting. Taking time now prevents gaps, misalignment, and premature wear that could compromise your transition for years to come.
Start by thoroughly cleaning both flooring surfaces and the subfloor area where the trim will sit. Remove all dust, debris, old adhesive, and contaminants using a vacuum and damp cloth. Dirt particles prevent proper contact between the trim and floor.

Inspect the subfloor for damage or irregularities. Look for cracks, grooves, high spots, and low spots along the transition line. Even small imperfections cause the trim to rock or sit unevenly.
Fill any cracks or grooves with suitable patching compounds. Use a concrete repair compound for concrete subfloors or appropriate wood filler for timber subfloors. Allow patching materials to cure fully before proceeding.
Level the surface using a straight edge to identify high and low spots. A permanently dry and smooth surface ensures proper adhesion for your metal trim. Sand down high spots carefully, working gradually to avoid over-removal.
Test moisture levels in your subfloor, particularly in kitchens and bathrooms. Excess moisture causes adhesive failure and compromises the trim’s performance. Allow damp surfaces to dry completely before installation.
Check that both flooring surfaces align properly at the transition point. Measure the height difference again to confirm your chosen trim profile is correct.
Your surface preparation checklist should include:
- Thorough cleaning of all surfaces
- Inspection for cracks and irregularities
- Patching of damaged areas
- Levelling of high and low spots
- Moisture testing in damp areas
- Final height measurement confirmation
A well-prepared surface means your brass trim will sit perfectly and last for decades without movement or failure.
Pro tip: Use a moisture meter to test your subfloor before installation, especially in bathrooms and kitchens. Record the readings to ensure they fall within acceptable levels for your chosen trim and adhesive type.
Step 4: Install and secure metal trims for a seamless finish
With your surfaces prepared and trim profile selected, you’re ready to install and secure your metal trim. Proper installation determines whether your transition looks professional and performs reliably for decades.
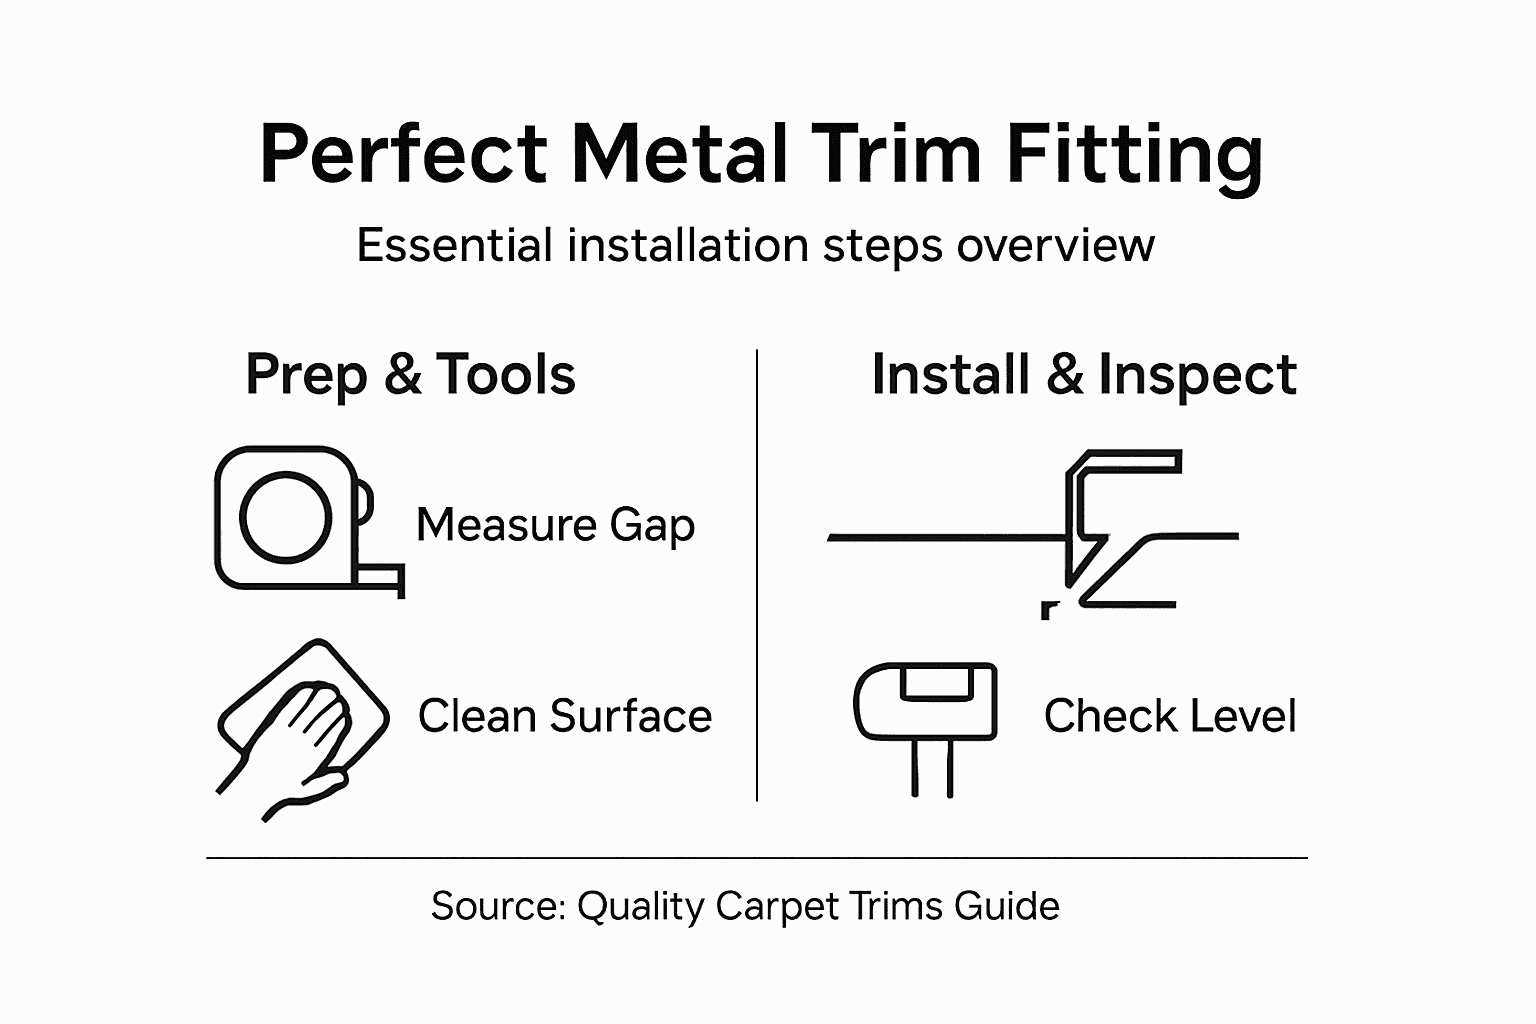
Begin by dry-fitting the trim along the transition line without any adhesive or fasteners. Position it carefully to ensure it sits flush against both flooring surfaces. Check alignment from multiple angles, ensuring the trim sits evenly without rocking or gaps.
Measure twice to confirm proper placement before securing anything. Mark any screw or fastener positions with a pencil if using mechanical attachment.
Choose your securing method based on your subfloor type and trim profile. Secure fastening using mechanical fasteners or adhesives compatible with flooring materials ensures your trim remains stable under traffic. For concrete subfloors, use concrete screws or anchors. For timber subfloors, use stainless steel or brass screws that won’t corrode.
If using adhesive, apply a suitable flooring-grade adhesive to the underside of the trim following the manufacturer’s instructions. Press the trim firmly into place, holding it steady for the recommended time. Allow adhesive to cure fully before allowing foot traffic.
For screw installation, pre-drill holes to prevent splitting and ensure fasteners sit flush or slightly below the surface. Space fasteners evenly along the trim length, typically every 300mm.
Inspect your installation for tight joints and seamless finish details at corners and transitions. Your solid brass trim should sit perfectly flush with no movement or gaps.
Your installation checklist includes:
- Dry-fit the trim before final installation
- Verify alignment and flush fit on both sides
- Choose appropriate fastening method for your subfloor
- Apply adhesive or secure with fasteners as specified
- Check for gaps, movement, or misalignment
- Allow proper curing time before foot traffic
A properly installed metal trim creates a seamless transition that looks professional and lasts indefinitely.
Pro tip: If installing with screws, use a spirit level across the trim to ensure it remains perfectly level during installation, and tighten fasteners gradually rather than fully tightening one at a time to maintain even pressure throughout the trim.
Step 5: Inspect and refine your flooring transition result
Your installation is complete, but thorough inspection ensures your metal trim will perform flawlessly for years to come. Take time to evaluate every aspect of your transition and make any necessary refinements.
Start by visually inspecting the entire length of your trim from multiple angles. Look for any visible gaps between the trim and either flooring surface. Even small gaps compromise the finish and create trip hazards.
Run your hand along the trim surface to feel for any sharp edges, protrusions, or unevenness. The transition should feel smooth and safe underfoot. Any rough spots or raised edges need attention before use.
Check that the trim sits flush and level along its entire length. Use a straight edge or spirit level to verify alignment. Any rocking or movement indicates the trim hasn’t secured properly and requires additional fastening.
Test the trim’s stability by applying gentle downward pressure along its length. The trim should not flex, shift, or move. Professional inspection protocols assess trim alignment and secure attachment to ensure functional performance and safety.
Inspect all corners and transition points where the trim meets existing flooring. These areas are particularly vulnerable to gaps or lifting. Ensure corners are tight and properly finished.
Address any issues immediately. Small gaps can be filled with colour-matched caulk suitable for your flooring types. If the trim rocks or moves, add additional fasteners or reapply adhesive.
Your inspection checklist should verify:
- No visible gaps between trim and flooring
- Smooth surface with no sharp edges or protrusions
- Level and flush alignment along the entire length
- Secure attachment with no movement or flexing
- Properly finished corners and transitions
- Safe, trip-hazard-free surface
A final inspection catches small issues before they become problems, ensuring your brass trim provides decades of trouble-free performance.
Pro tip: Walk across your newly installed trim several times at different speeds and angles to identify any comfort issues or unexpected movement. Your feet and body awareness often detect problems that visual inspection alone might miss.
Achieve Flawless Flooring Transitions with Premium Solid Brass Trims
Ensuring a seamless and durable flooring transition requires more than just choosing any trim. The challenges of matching floor heights, managing moisture, and creating safe, elegant edges demand high-quality solutions designed to last. As the article highlights, selecting the correct profile and preparing surfaces meticulously are crucial steps — but the foundation is always the right material.

At Quality Carpet Trims, we specialise in solid metal door bars and trims that meet precise installation needs described in the guide. Our hand-finished brass trims, available in 10 exquisite finishes, offer outstanding durability that outperforms inferior aluminium, wood, or PVC alternatives. Whether you need reducers, thresholds, or angle trims, our British-made range ensures your flooring transitions are safe, stylish, and built to withstand years of wear.
Explore our selection to get free samples and expert advice on fitting the perfect profile for your project. With fast delivery and a commitment to quality guarantees, now is the ideal time to transform your flooring transitions into flawless features. Visit our main website and take the first step towards professional results today.
Frequently Asked Questions
How do I assess my flooring transition requirements?
To assess your flooring transition requirements, identify the types of flooring you are joining, such as carpet to tile or laminate to hardwood. Measure the height difference between the floors and consider factors like traffic patterns and moisture exposure. Document your findings to ensure you select the right metal trim.
What is the best solid metal trim profile for my flooring?
The best solid metal trim profile depends on your specific flooring combination and height differences. A reducer profile is ideal for uneven floors, while a threshold profile works for equal heights. Review each option and select a profile that provides a seamless and secure transition.
How should I prepare my surfaces before installing metal trim?
Prepare your surfaces by cleaning them thoroughly, inspecting for damage, and patching any irregularities. Ensure the subfloor is level and free from moisture to guarantee proper adhesion. Taking these steps will help your metal trim fit correctly and last longer.
What is the proper method for installing and securing metal trims?
To install metal trims, start by dry-fitting them along the transition line, then secure using an appropriate method based on your subfloor type. If using adhesive, follow the manufacturer’s instructions and ensure the trim is pressed firmly into place. Measure twice before securing to confirm correct placement.
How can I inspect my metal trim after installation?
Inspect your metal trim by checking for visible gaps, a smooth surface, and level alignment along the entire length. Press down gently to ensure the trim is secure and does not flex or move. Address any issues immediately to maintain a safe and professional-looking transition.
What are the advantages of using solid brass for metal trims?
Solid brass delivers exceptional durability and maintains its shape under pressure, making it a superior option for high-traffic areas. It also comes in various luxury finishes, allowing you to match your interior design perfectly. Choosing solid brass trims can enhance both the functionality and aesthetics of your flooring transition.
Recommended
- Types of Flooring Trims Explained: Seamless Finishes
- Carpet to Tile Transition: Achieving Seamless Floors
- Industry Terminology: Flooring Trims Explained
- Complete Guide to Selecting Carpet Trims for Perfect Finishes
- Expert Guide to Selecting Railing Materials Easily – Inoxify