
Blog
How to fit carpet door bars: perfect flooring transitions

Mar
That gap between two rooms where your carpet meets another floor surface is one of those small details that can make or break the look of an entire renovation. A poorly finished doorway looks untidy, catches on feet, and can even become a genuine trip hazard over time. The good news is that fitting carpet door bars is a straightforward job when you know what you’re doing. With the right product, the right tools, and a clear method, even a first-time DIYer can achieve a finish that looks completely professional.
Table of Contents
- What are carpet door bars and why do you need them?
- Tools and materials needed for fitting carpet door bars
- Choosing the right door bar for your floors
- Step-by-step guide: fitting carpet door bars
- Troubleshooting: common mistakes and expert fixes
- How to check your work and ensure lasting results
- Find quality carpet door bars and expert help
- Frequently asked questions
Key Takeaways
| Point | Details |
|---|---|
| Choose the right door bar | Selecting the correct bar for your flooring types ensures a neat and safe transition. |
| Always measure carefully | Accurate measuring and cutting prevents gaps and costly mistakes when installing your bar. |
| Follow step-by-step fitting | Precise preparation and fitting steps deliver professional, lasting results. |
| Avoid common DIY errors | Skipping checks or using the wrong fixings can cause trips or ruin your finish. |
| Final checks matter | A quick inspection ensures your new threshold bar is both secure and stylish. |
What are carpet door bars and why do you need them?
A carpet door bar, sometimes called a threshold strip or transition trim, is a narrow strip of material fixed across a doorway to bridge the join between two different floor surfaces. Understanding what is flooring trim helps you appreciate just how much work these small strips do. They cover rough or frayed carpet edges, hide height differences between floors, and protect the join from daily wear.
Beyond appearance, door bars serve a real safety function. An exposed carpet edge curls up over time, and an unprotected join between a carpet and a hard floor creates an uneven ridge that people catch their feet on. As seamless transitions enhance both appearance and safety across every room in the house, fitting them correctly is never just cosmetic.
Here is what a well-chosen door bar actually does for you:
- Covers and protects raw carpet edges from fraying
- Hides uneven or mismatched floor heights between rooms
- Reduces the risk of trips and falls at doorways
- Gives every doorway a clean, finished appearance
- Extends the life of your carpet edge by holding it firmly in place
A door bar is the full stop at the end of a flooring job. Without it, even the most carefully laid carpet looks unfinished.
Now that you understand why a neat threshold matters, let’s look at the materials and tools you’ll need.
Tools and materials needed for fitting carpet door bars
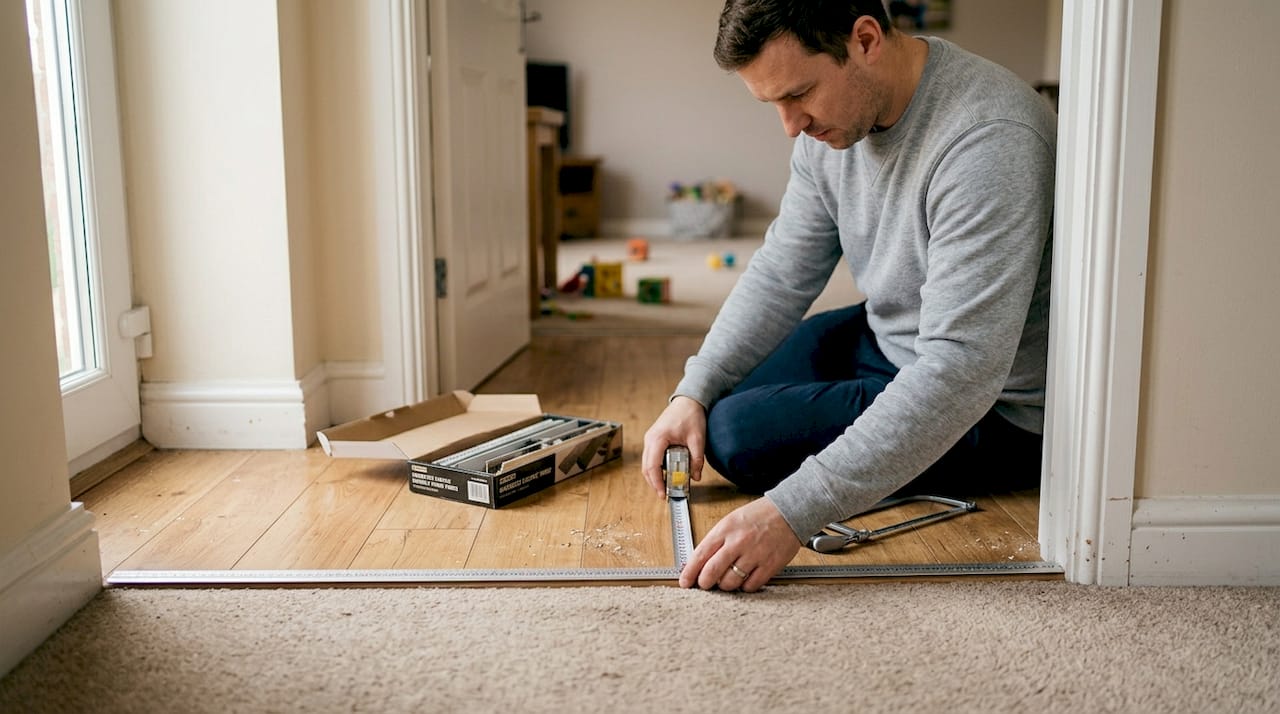
Getting your tools ready before you start saves time and prevents the frustration of stopping mid-job. Proper tools and preparation make fitting easier and result in a more reliable finish. Here is what you will need:
Essential tools:
- Tape measure and pencil
- Hacksaw or metal cutting blade
- Screwdriver (flathead and cross-head)
- Power drill with masonry or wood bits
- Wall plugs (for concrete subfloors)
- Hammer and block of wood (to protect the bar when tapping down)
- Safety glasses and gloves
Optional but useful:
- Double-sided tape (for temporary positioning)
- Strong adhesive or mastic (for floating floors or underfloor heating)
- Carpet gripper rods (if not already fitted)
- File or metal deburring tool (to smooth cut edges)
| Item | Essential | Optional |
|---|---|---|
| Tape measure | Yes | No |
| Hacksaw | Yes | No |
| Power drill | Yes | No |
| Adhesive/mastic | No | Yes |
| Double-sided tape | No | Yes |
| Deburring file | No | Yes |
Pro Tip: Measure the doorway width twice before cutting your door bar. Most solid metal bars cannot be returned once cut, so a careful measurement saves you money and a wasted trip to reorder.
When selecting carpet trims, always check the product dimensions against your measured doorway before placing your order. With your tools laid out, let’s show you which type of door bar will work best for your flooring.
Choosing the right door bar for your floors
This is where many DIYers go wrong. Choosing the wrong trim type is one of the most common mistakes, and it usually means the bar either looks wrong, sits unevenly, or fails to hold the carpet edge securely.
The main types of door bar you will encounter are:
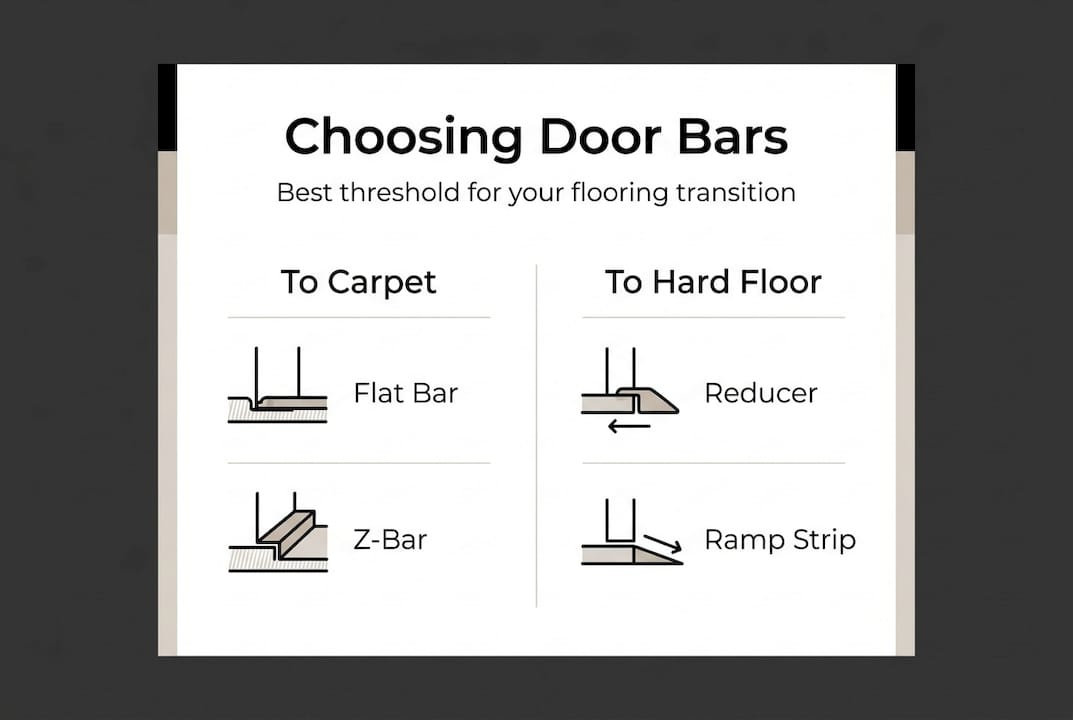
- Carpet to carpet: A flat or slightly raised bar that bridges two carpeted rooms at a similar height
- Carpet to hard floor (Z-bar): A Z-shaped profile that grips the carpet edge on one side and sits flush against the hard floor on the other
- Ramped or reducer bar: Used when one floor is noticeably higher than the other, creating a gradual slope to prevent trips
- Single-edge trim: Finishes a carpet edge against a wall, step, or fixed unit rather than another floor
For trims for carpet and tile joins specifically, a Z-bar or reducer profile is almost always the right choice. Height differences of 3mm to 8mm are best handled with a ramped bar, while anything beyond that may need a shim or Easyshim placed under the carpet to level the transition before fitting the bar.
| Floor combination | Recommended bar type | Height difference handled |
|---|---|---|
| Carpet to carpet | Flat or joining bar | 0 to 2mm |
| Carpet to laminate/tile | Z-bar or reducer | 2 to 8mm |
| Carpet to hard floor (large gap) | Ramped reducer | Up to 12mm |
| Carpet edge to wall | Single-edge trim | N/A |
Exploring your carpet trim options before buying ensures you pick the right profile for your exact situation. Once you’ve chosen the right door bar, follow these steps for a professional installation.
Step-by-step guide: fitting carpet door bars
Follow this order and you will avoid the most common fitting errors. Always check for underfloor heating before screwing into any floor, and use adhesive instead if heating pipes or cables are present.
- Prepare the doorway. Remove any old trim, clean the subfloor, and check that the carpet gripper rod is fitted correctly up to the doorway edge. Browse hardfloor trims if you need to replace edge pieces at the same time.
- Measure and mark. Measure the doorway width precisely. Mark the cut line on your door bar with a pencil.
- Cut the bar. Use a hacksaw to cut cleanly along your mark. File the cut edge smooth to remove any burrs.
- Dry fit. Place the bar in position without fixing it. Check it sits flush, covers the carpet edge fully, and aligns with both floor surfaces.
- Fix the gripper rod. If fitting a Z-bar, ensure the gripper rod is in place so the carpet tucks neatly under the bar’s lip.
- Secure the bar. For timber subfloors, screw directly through the pre-drilled holes. For concrete, drill, plug, and screw. For floating floors or underfloor heating, use a strong adhesive. See our range of carpet to carpet trims for joining bar options.
- Tuck and finish. Tuck the carpet edge under the bar’s lip using a bolster or flat tool. Press the decorative insert into place if your bar has one.
- Test. Walk over the bar several times. It should not rock, lift, or catch.
| Step | Action | Expert tip |
|---|---|---|
| 1 | Prepare doorway | Clean subfloor thoroughly |
| 2 | Measure and mark | Measure twice, mark once |
| 3 | Cut bar | File edges after cutting |
| 4 | Dry fit | Check flush before fixing |
| 5 | Fix gripper | Ensure carpet tucks cleanly |
| 6 | Secure bar | Match fixing method to subfloor |
| 7 | Tuck and finish | Use a flat tool, not a screwdriver |
| 8 | Test | Walk over it before calling it done |
Pro Tip: For floating floors, never screw through the floor surface. Use adhesive only, and allow the bar to accommodate the natural expansion and contraction of the floor beneath it. Refer to our carpet trim selection guide if you are unsure which fixing method suits your floor type.
Even with the best preparation, common mistakes can undermine your efforts. Here’s how to avoid them.
Troubleshooting: common mistakes and expert fixes
Most fitting problems come down to a handful of recurring errors. Common mistakes include loose screwing, choosing the wrong trim, ignoring expansion gaps, and improper fixing to subfloors. Here is how to spot and fix each one:
- Bar rocking or moving: Screws are loose or too short. Remove, use longer screws with wall plugs on concrete, and refix firmly.
- Gaps at the sides: Bar was cut too short. Always cut to the full doorway width and check the fit before final fixing.
- Decorative insert popping out: Screws or nails are protruding above the bar surface. Countersink all fixings so they sit flush.
- Carpet edge visible or fraying: The carpet was not tucked far enough under the bar’s lip. Lift the bar slightly, re-tuck, and refix.
- Bar cracking tiles or damaging hard floor: Wrong bar type chosen. Use a profile designed for your specific floor combination.
Always check for underfloor heating pipes or cables before drilling. A simple pipe and cable detector costs very little and prevents an expensive repair.
For concrete subfloors, always use the correct masonry drill bit and insert a wall plug before screwing. Skipping the plug is the single most common reason a bar works loose within weeks. Our carpet trims guide covers subfloor compatibility in more detail.
Pro Tip: Before final fixing, press the bar down firmly and walk over it. If it flexes or rocks even slightly, add an extra fixing point in the centre of the bar.
Once you’ve overcome pitfalls, here’s how to ensure you’re achieving the stylish, safe finish you want.
How to check your work and ensure lasting results
A good installation is one that still looks and feels right six months later. Well-installed door bars improve safety and protect carpet edges from damage, remaining secure for years when fitted correctly.
Run through this checklist before you consider the job finished:
- The bar does not rock, flex, or lift at any point along its length
- Both edges sit flush with the floor surfaces on either side
- No carpet edge is visible or exposed beyond the bar’s lip
- The decorative insert (if fitted) sits flat with no raised sections
- The bar is centred in the doorway with no visible gaps at either end
- There are no protruding screw heads that could catch on feet or socks
For high-traffic doorways such as hallways and kitchens, press the bar down firmly every few months. Metal bars are extremely durable, but the fixings can loosen slightly over time in busy areas. A quick check and a half-turn of the screwdriver keeps everything tight.
If you notice a minor gap appearing at one end after fitting, a small amount of matching colour filler or sealant pressed into the gap will keep it looking neat without requiring a full refit. Act on small imperfections promptly. Left alone, a small gap becomes a larger problem as the carpet edge begins to fray.
Find quality carpet door bars and expert help
If you want a finish that genuinely looks professional, the quality of the door bar itself matters as much as the fitting technique. At Quality Carpet Trims, every bar is crafted from solid metal and hand-finished in one of ten beautiful finishes, so you can match your trims precisely to your home’s existing hardware and décor.
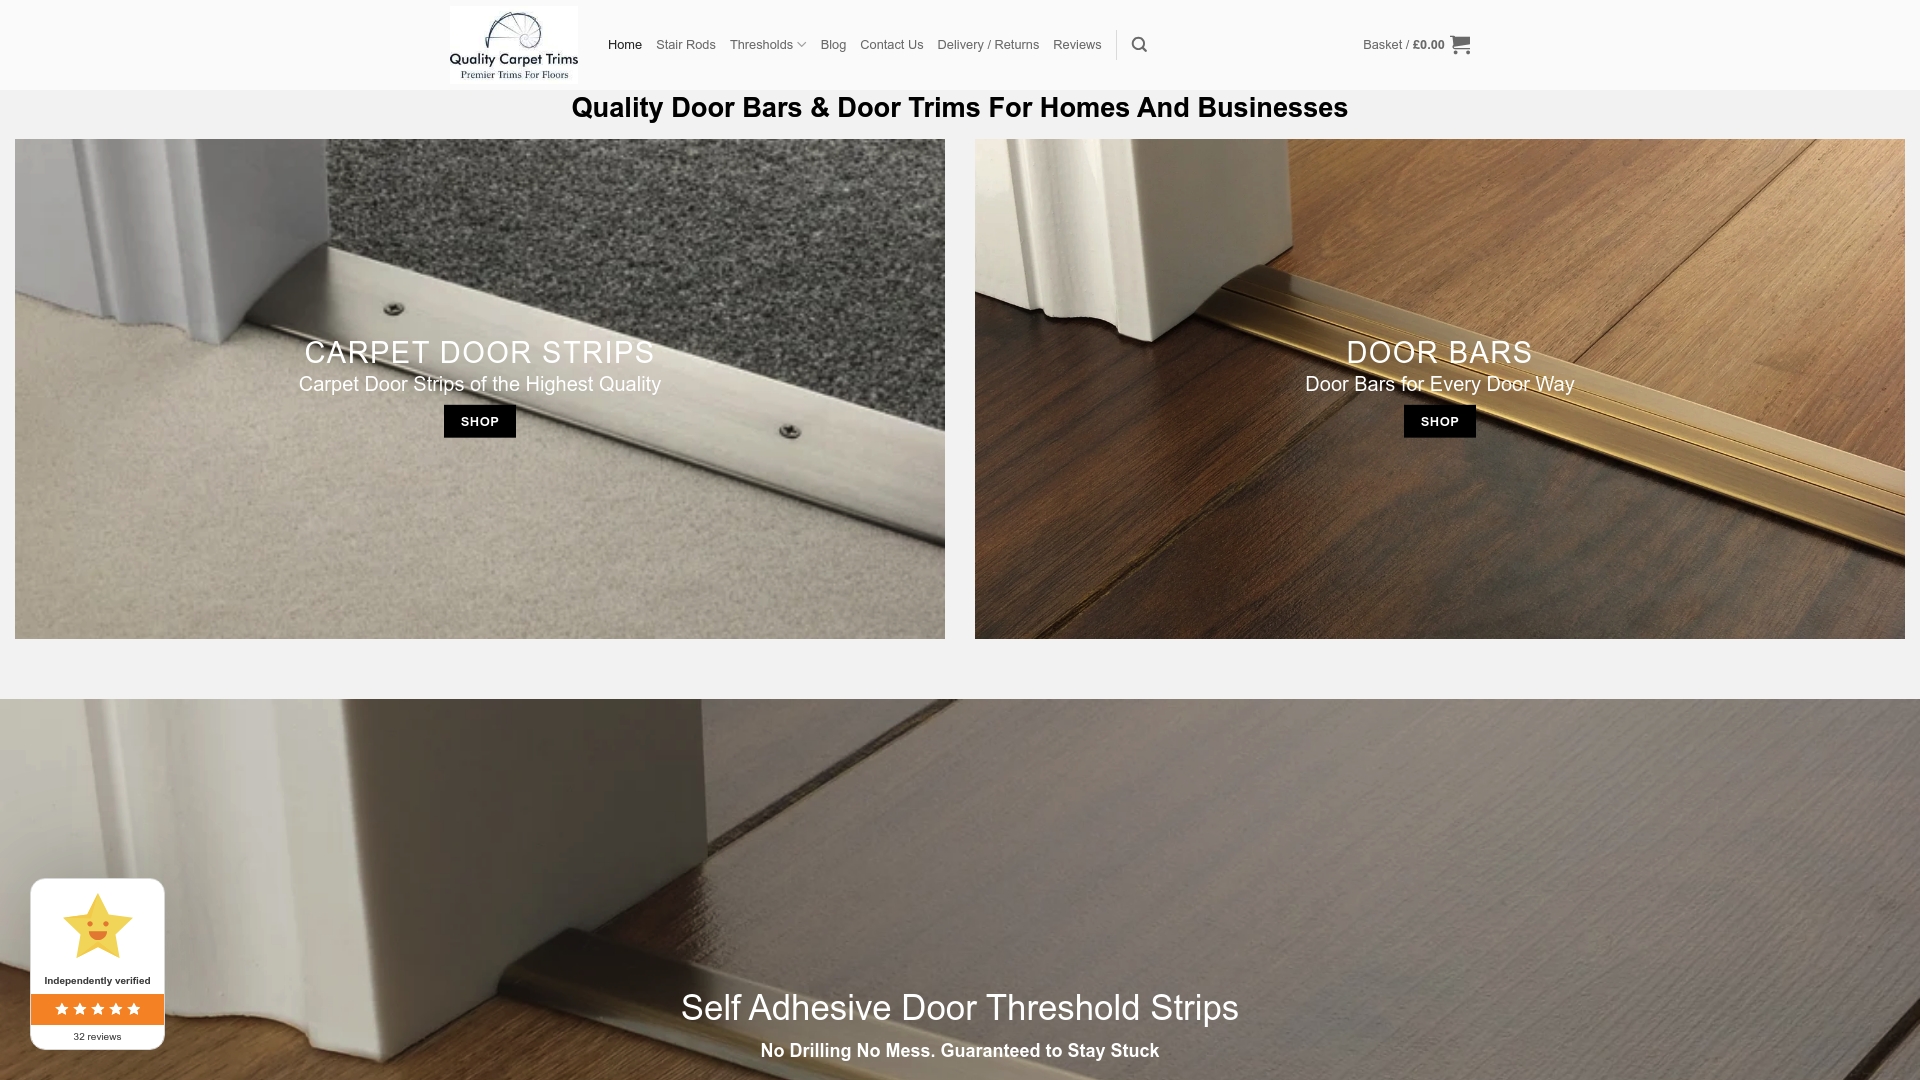
Whether you need brass threshold strips for a classic look or want to explore the full range of types of flooring trim before deciding, you will find everything in one place. We also stock a wide selection of threshold strip options to suit every flooring combination, from carpet to tile to laminate. Order online with fast UK delivery, and if you are unsure which profile is right for your project, our team is always happy to help you choose.
Frequently asked questions
Can I install carpet door bars over underfloor heating?
Yes, but avoid screwing into the floor as this risks damaging heating pipes or cables. Use a strong adhesive instead, which provides a secure fix without penetrating the subfloor.
What do I do if my two rooms have different floor heights?
Use a ramped or reducer trim to create a gradual slope between the two surfaces. For smaller differences of 3mm to 8mm, placing a shim or Easyshim under the carpet before fitting the bar can level the transition neatly.
How do I avoid damaging decorative inserts on my door bar?
Ensure all screws and nails are countersunk flush with the bar surface before pressing the insert into place. Overtightening fixings causes the bar to deform slightly, which prevents the insert from sitting flat.
Are self-adhesive door bars reliable for busy doorways?
Self-adhesive bars are quicker to fit but are less secure in high-traffic areas such as hallways. For durability and long-term reliability, screw-down solid metal bars are the better choice.
Recommended
- Installing carpet to vinyl transitions with metal trims
- Carpet to Hardfloor Trims – High-End Door Bars
- Carpet Transition Strips & Carpet-to-Carpet Door Bars UK – Grace Matthews
- What Is a Carpet Bar? How It Elevates Flooring Transitions